08 March, 2023 | News
Whether you’re working in a residential or a commercial space, choosing the type of tile and, therefore, the type of installation pattern you want to use is a fundamental part of giving the right tone and style to your specific space. Once you’ve selected the product you want to use for a surface, the question that immediately follows is: how do you want to install it?
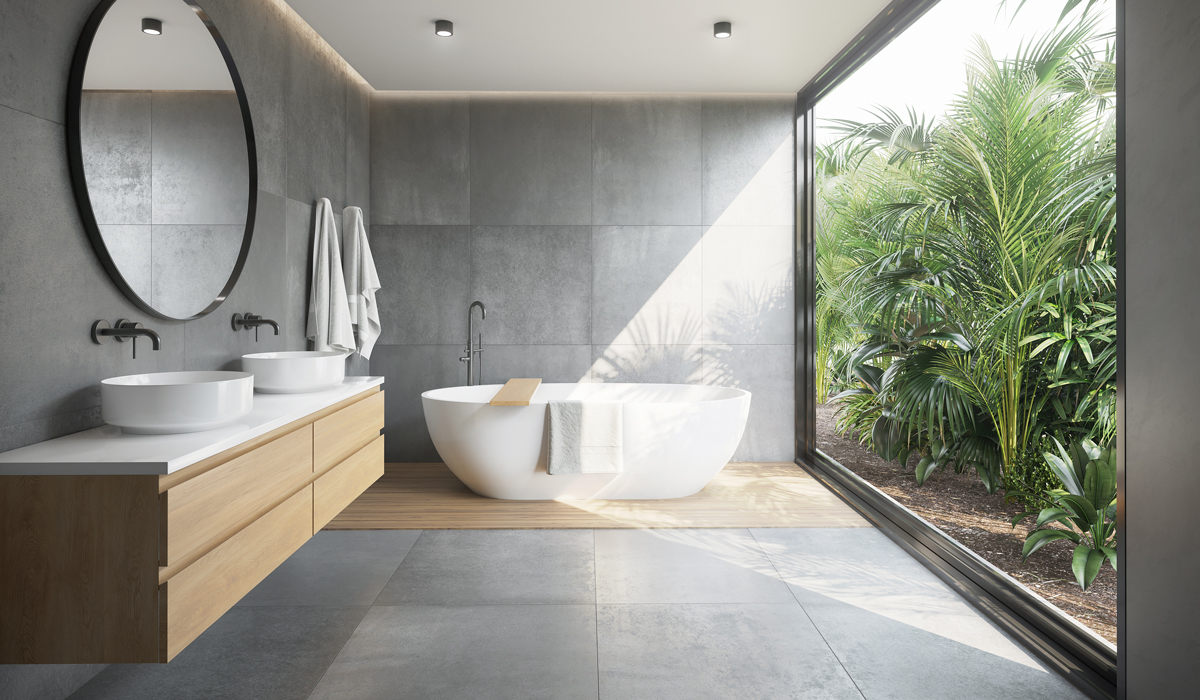
When dealing with a straight lay pattern, we’re usually working with simple square tiles; this type of installation works particularly well for modern and minimal spaces. And a straight lay pattern can especially highlight large format square or rectangular tiles as it brings attention to the product, its material properties and its interaction with natural and artificial light. It’s important to take into consideration that waste percentage is usually calculated around 5-7% of surface area for this type of laying pattern.
When dealing with plank formats, meaning products where one side is much longer than the other such as hardwood or wood-look tile, the preferred type of installation pattern is a straight staggered pattern. When working with a staggered installation pattern it’s important to evaluate your cuts to minimize waste, and, in this case, waste is usually calculated around 10-12% of the surface area to tile. For staggered installations, it is recommended to avoid cuts that are too small compared to the overall size of the tile (the ideal is around half of the tile).
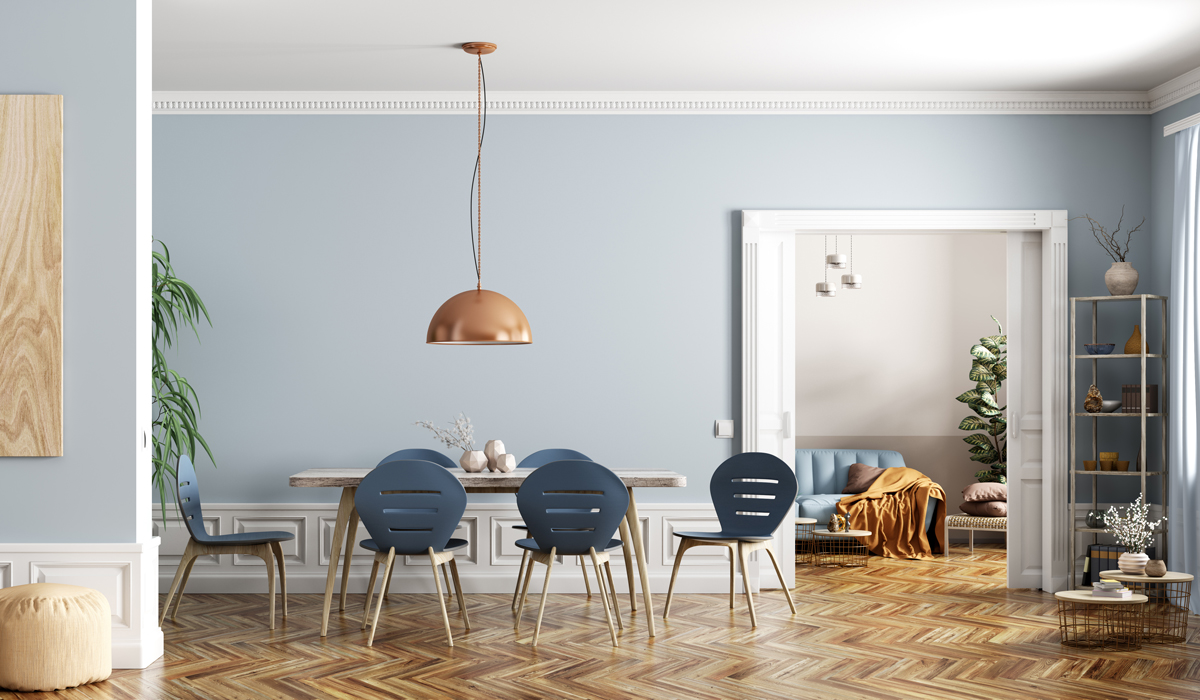
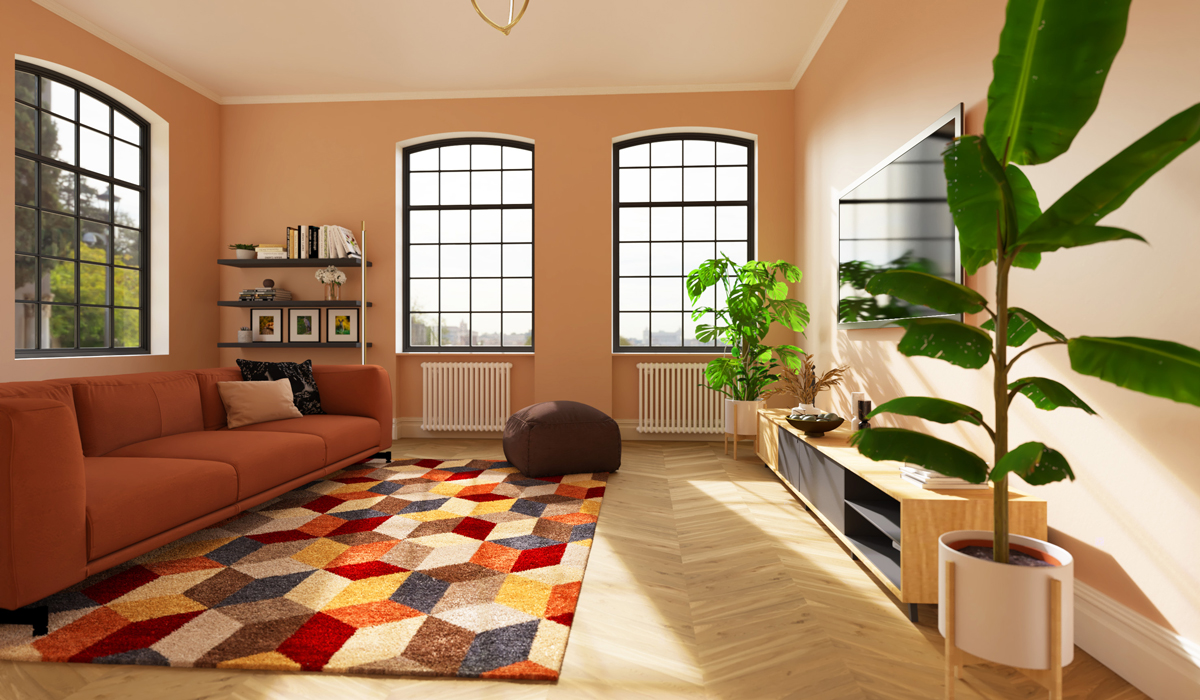
After deciding on the type of staggered pattern to use (random, ½, 1/3, 1/4, etc.), you also have to choose its orientation. To decide the best choice for your space, you need to take into consideration your light sources, as well as the shape of your walls. For buildings with regular straight walls, meaning without any angled walls, we can choose an installation that is parallel to our walls, preferably in the direction of our main light source, allowing us to enhance the brightness of the room. On the other hand, in a small space, it is recommended to lay your tile perpendicular to the main light source, to “expand” the space.
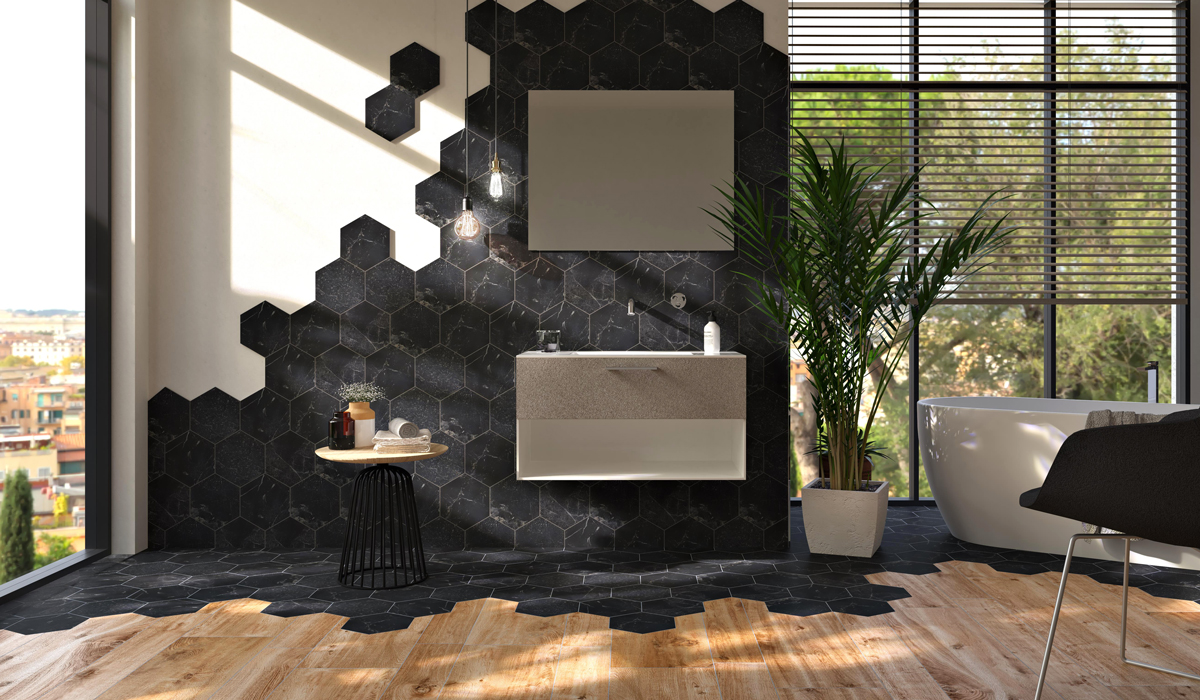
When working with hardwood or with wood-look tile, i.e. we have plank products, we can also consider using a diagonal laying pattern. This type of installation is recommended when we have angled walls in our room, and therefore usually when working on projects in older or historical buildings, or when we have irregularities in our space such as niches, obstacles, etc. Diagonal installations for planks can be used effectively in both traditional style and modern style spaces.
Diagonal laying patterns, along with being used for planks, are usually associated with square formats, as can be seen in many wall-tile installations in buildings from the 80’s and 90’s. This type of laying pattern, again used mainly with square formats (but not only!), is commonly used in stone and terracotta flooring, typical of historical buildings, where walls are not always perfectly orthogonal.
A diagonal installation, however, is not recommended when using large format tiles, especially when working in small spaces, where there would be a risk of having to make many cuts. In fact, when dealing with a diagonal laying pattern, waste is usually calculated to be around 15% of the surface area.
As we’ve seen so far, diagonal laying patterns are particularly suited for historical buildings with large surfaces and angled walls; an elegant and traditional type of installation that is able to minimize the defects of the walls while expanding the space and giving it even greater breadth. Of course, it’s important to consider that the selection of this type of laying pattern means there will be more material waste (offcuts).
Straight lay patterns, on the other hand, are perfect for more modern spaces, thanks to their essential and minimalist nature; they grant you the ability to minimize cuts and, therefore, material waste, allowing you to enhance and expand your space, while bringing focus to the material being used. It should, however, be kept in mind that using this type of installation with irregular or angled walls will highlight the geometric defects of the room.
The type of installation patterns analyzed thus far are certainly some of the most common, but they are, obviously, not the only ones! We can, in fact, create infinite installation patterns simply by using different formats than those seen in the patterns above, always keeping in mind the physical and technical characteristics of the products we are choosing to use, such as, their thickness, grout width, technical properties, and so on.
For more refined and traditional spaces, for example, we can choose to use more complex laying patterns, such as herringbone, chevron, basketweave and more.
For example, another aspect to take into consideration when using a herringbone or chevron installation pattern is the direction of the pattern with respect to the main light source. When we use this type of pattern, it’s important to point them towards the light in order to underline the effect of homogeneity and luminosity of the space, while if we arrange the pattern perpendicular to the light source, we risk emphasizing the contrast between the planks used in the installation.
Installations with these types of particular formats, or that utilize more complex laying patterns, are certain to require specialized and expert installers; it is possible, however, to find pre-assembled panels that facilitate installation and even allow for a DIY project.
No matter the type of installation you want to achieve, a fundamental first step, before the actual installation, is to set the dry pattern on the surface you want to cover, ensuring that the choice you made is the right one for your project. This simple operation will allow us to fully assess the installation and minimize the risk of any unpleasant surprises at the end of the job.
For those who want to experiment with the wide range of possible laying patterns in the design phase of their project, we can’t help but remind you that with DomuS3D, you have hundreds of laying patterns that can be used with compatible tiles from the leading global tile brands available in the Maticad digital library. With built-in rendering, it couldn’t be easier to see your finished design and evaluate your entire space to help you choose the solution that best matches your ideas for how to live and how to design and furnish your space.