19 October, 2021 | News
Even though the summer is over and it may seem out of season, there is no better time to get started planning a project for next summer, which will be here before we know it! This can help us get through the cold weather that is still to come, as we dream of how nice it will be to soak up the sun aside our swimming pool, lay back in our lounge chair, read a book and enjoy a nice cold drink.
To imagine all this as best we can, why not use DomuS3D to create an outdoor project and generate a beautiful rendering image? In this article, we’ll take a look how to create a custom swimming pool in DomuS3D and generate a photorealistic final rendering.
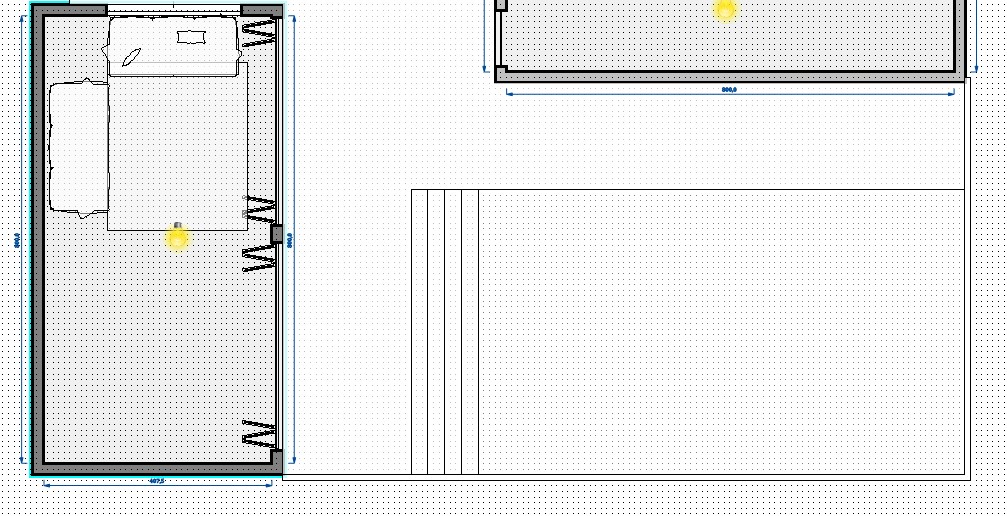
First things first, we’ll need to create a new project in DomuS3D and draw our floorplan (if you’re not sure how to start – make sure to sign up for our beginner training courses here).
We can create the rooms adjacent to our pool to better represent our entire space, displaying the pool in the spatial context where it will be built in real life.
We don’t need to create an interior design that is especially detailed in this case; the most important thing is to build the 3D structure aside the pool and insert a few items that will be visible from the viewpoint that we choose for our final renderings, the viewpoint that we believe will show-off best the pool area that we are designing and building.
Once we’ve created our interior floorplan, with the necessary openings with access to the outside (windows and doors), we can begin designing our outdoor area, and therefore, our swimming pool.
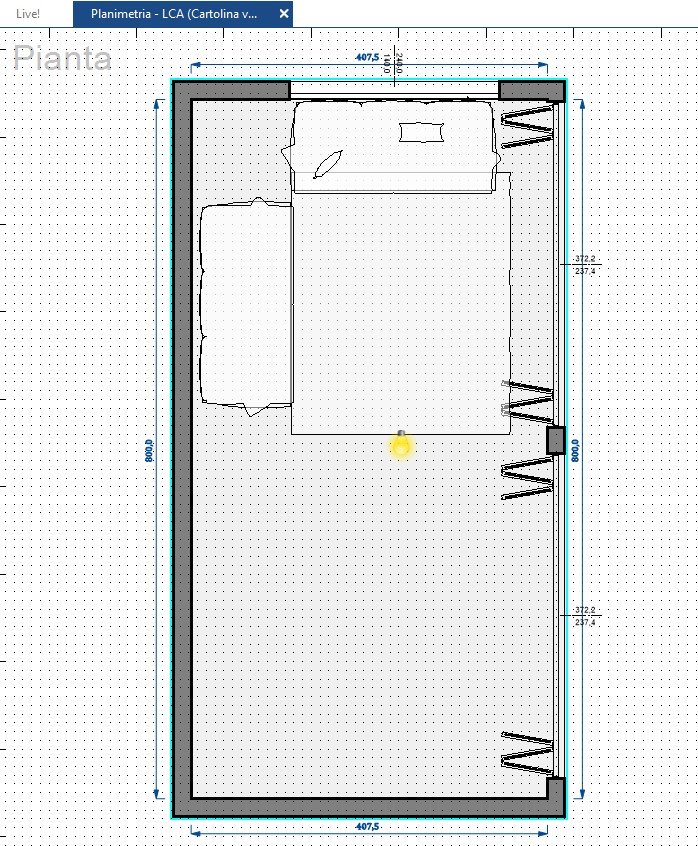
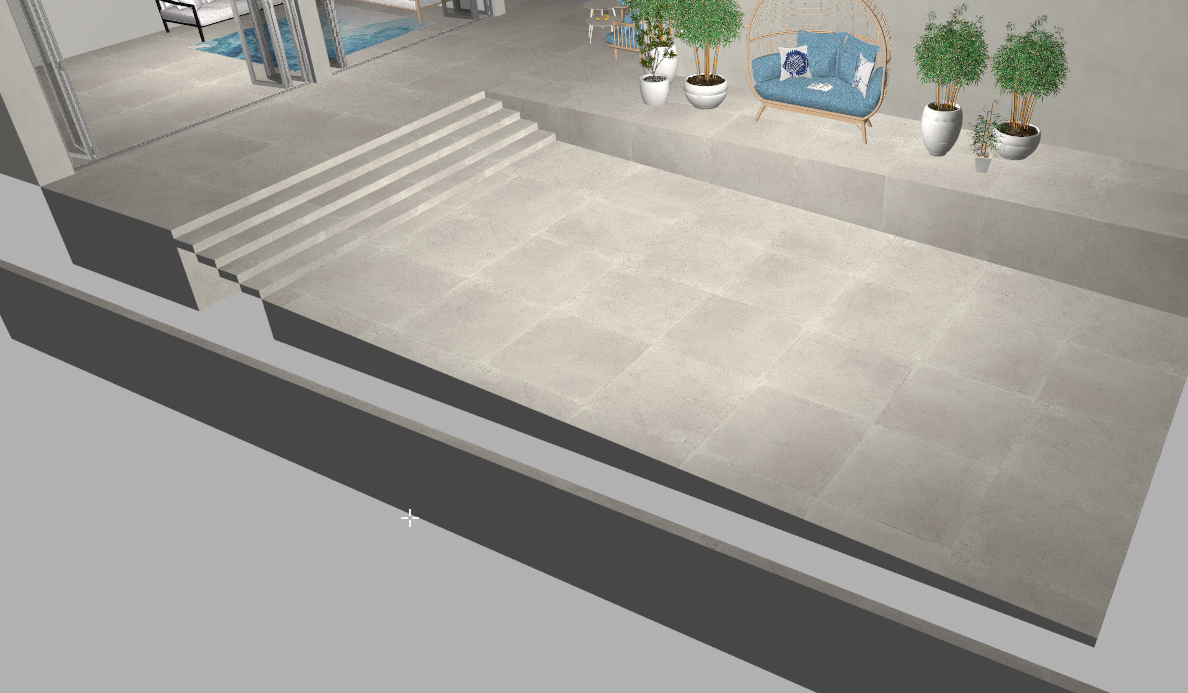
To create the pavement for our outdoor area, or the pavement surrounding our swimming pool, we can use 3D CAD objects.
To create a CAD object, we’ll use the drawing commands available in the CAD tab of the main DomuS3D toolbar. Let’s click on “Polyline” which will allow us to draw the objects we need.
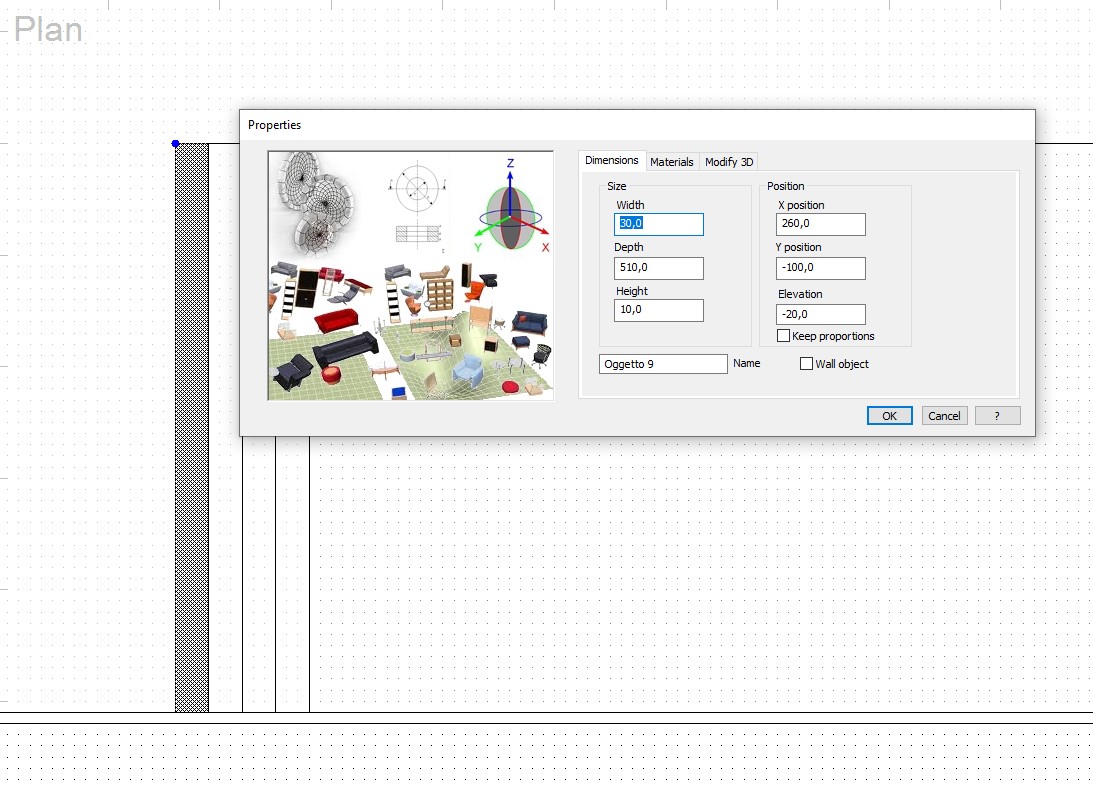
To position our objects correctly, for example if we want to create the steps that lead into the pool, we can use the properties window of the 3D object, where we can insert the desired elevation.
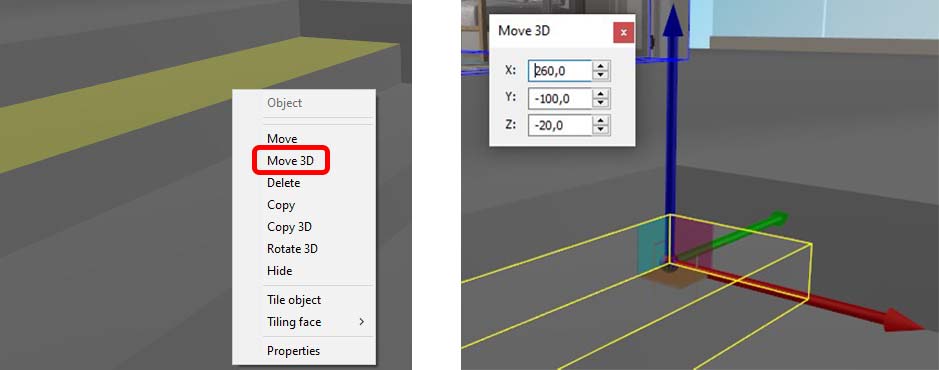
We can also use the command “Move 3D” from the navigation window, which will allow us to position our items with the right elevation, using the three axes that appear or by typing the exact coordinates in the pop-up window that appears.
Once we’ve drawn and positioned all the objects to create our pool (the pavement, steps, pool base or floor, and pool walls), we can assign a material or tile to each of these parts, creating any custom design that we want. We can even use the material “grass” if we need to create a lawn.
To assign a material to our objects, we just Drag & Drop the tile or the material onto our object.
An alternative to creating our pool using 3D CAD objects is to download a premade pool from the DomuS3D library available through the Catalogs section of the Live! page. Click on FURNISHINGS and then open the OUTDOOR-GARDEN typology and select MATICAD. You’ll find a few premade pools that you can download and use in your project.
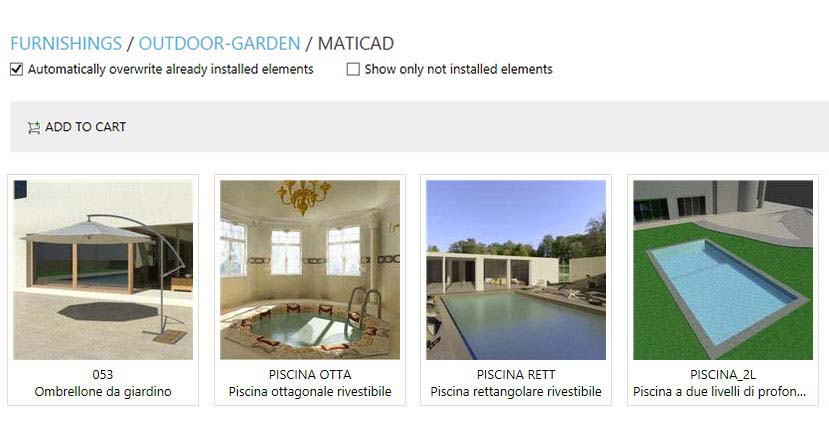
These furnishing items are “self-drilling”, meaning that they will automatically create a hole when they are positioned on a 3D object created in DomuS3D. To use these pools, all you have to do is create a 3D object in your project that will serve as the pool border or base, and then drag the pool onto this object.
When doing the above, you can easily set the correct elevation of your pool by using the H Key; once you’ve dragged the pool into your project, click on the H key to set the elevation based on the height of the object on which we want to position the pool. Once you’ve hit H, your drag command will be momentarily suspended allowing you to click on the border of the object before continuing to drag and then drop the pool in the desired position.
After you’ve completed the above, if you can’t see the pool in the Virtual Navigation window, click on the “Update view” button.
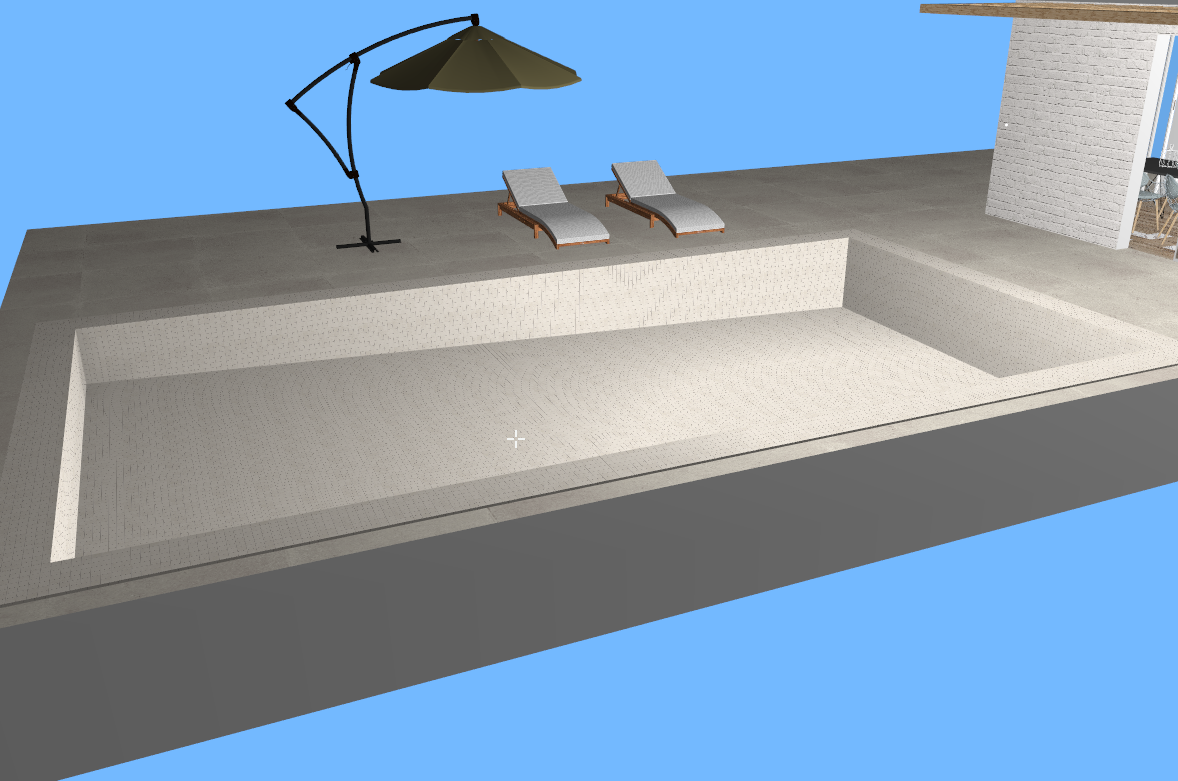
Once this is done, you can add steps by simply creating 3D volumes and positioning them in the pool, using the CAD tools as usual.
After you’ve defined the geometry of your pool, whether by drawing from scratch using CAD tools or by using one of the premade pools available, you can complete your project by inserting water into the pool.
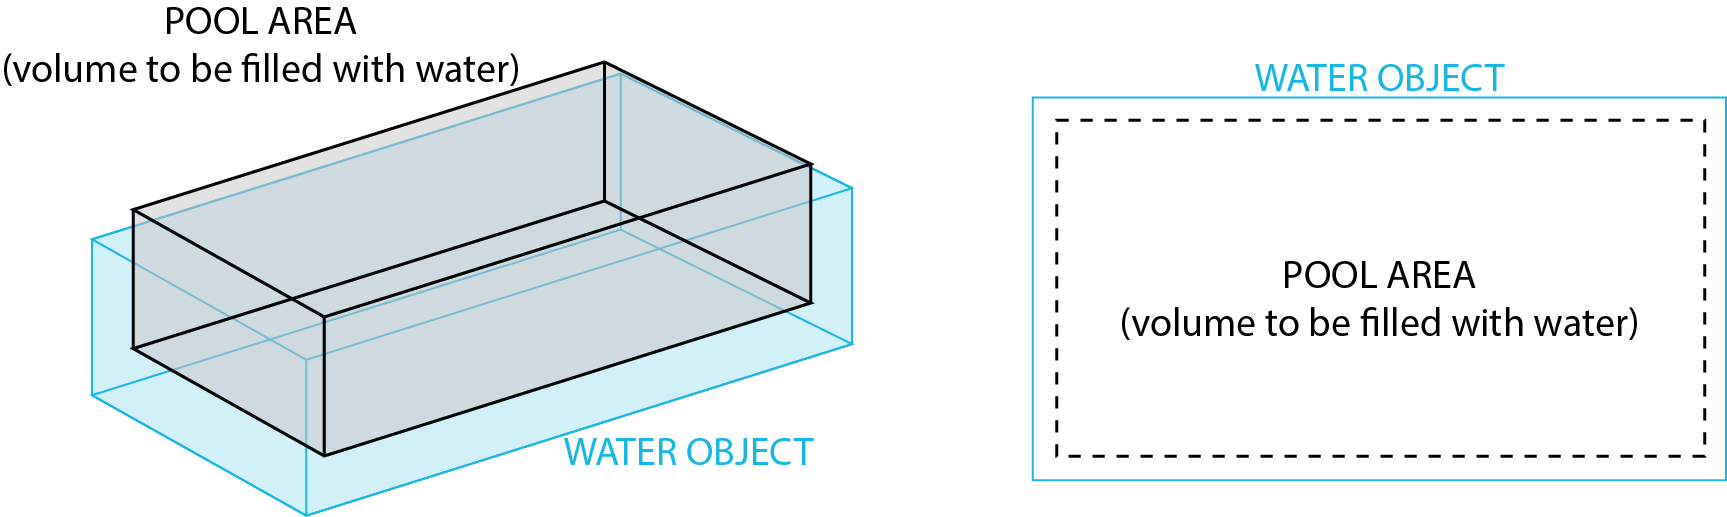
Creating water is really simple; using the CAD tools, you can select either “Rectangle” or “Polyline” depending on the shape of your pool. We’ll create an object that has a volume such that it fills the entire depth of our pool. Let’s imagine we are filling our pool with water; the horizontal extension of the outline of our water has to be slightly larger than our pool dimensions. We don’t have to be precise here, but it is important that the faces of these two objects are not touching, otherwise we can create problems when visualizing our project in our final renderings.
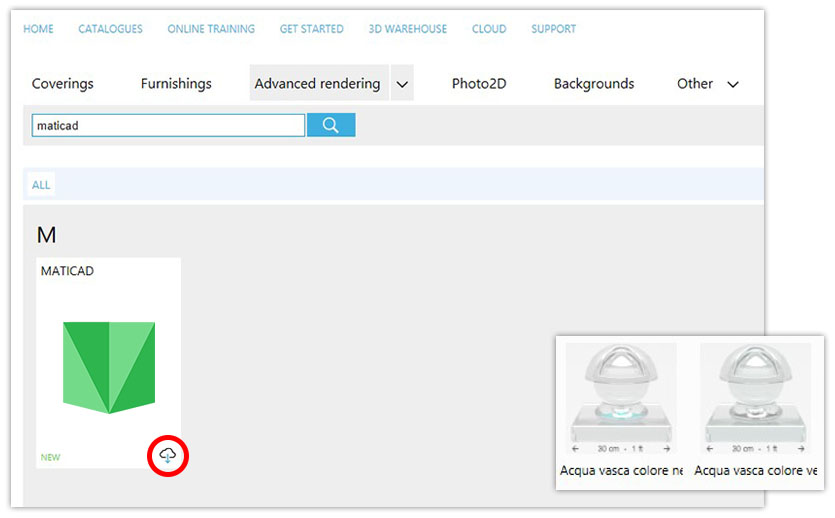
At this point, after creating our volume of water, we need to assign the WATER material to this object, which we’ll find in the digital library under MATICAD in the Advanced Rendering tab of our Catalogs section of the Live! page. If you haven’t yet, we recommend downloading and updating all materials found in the MATICAD section here.
We can assign this material from the layout or the navigation window and once we’ve assigned the material to the object, it will appear transparent in the navigation window.
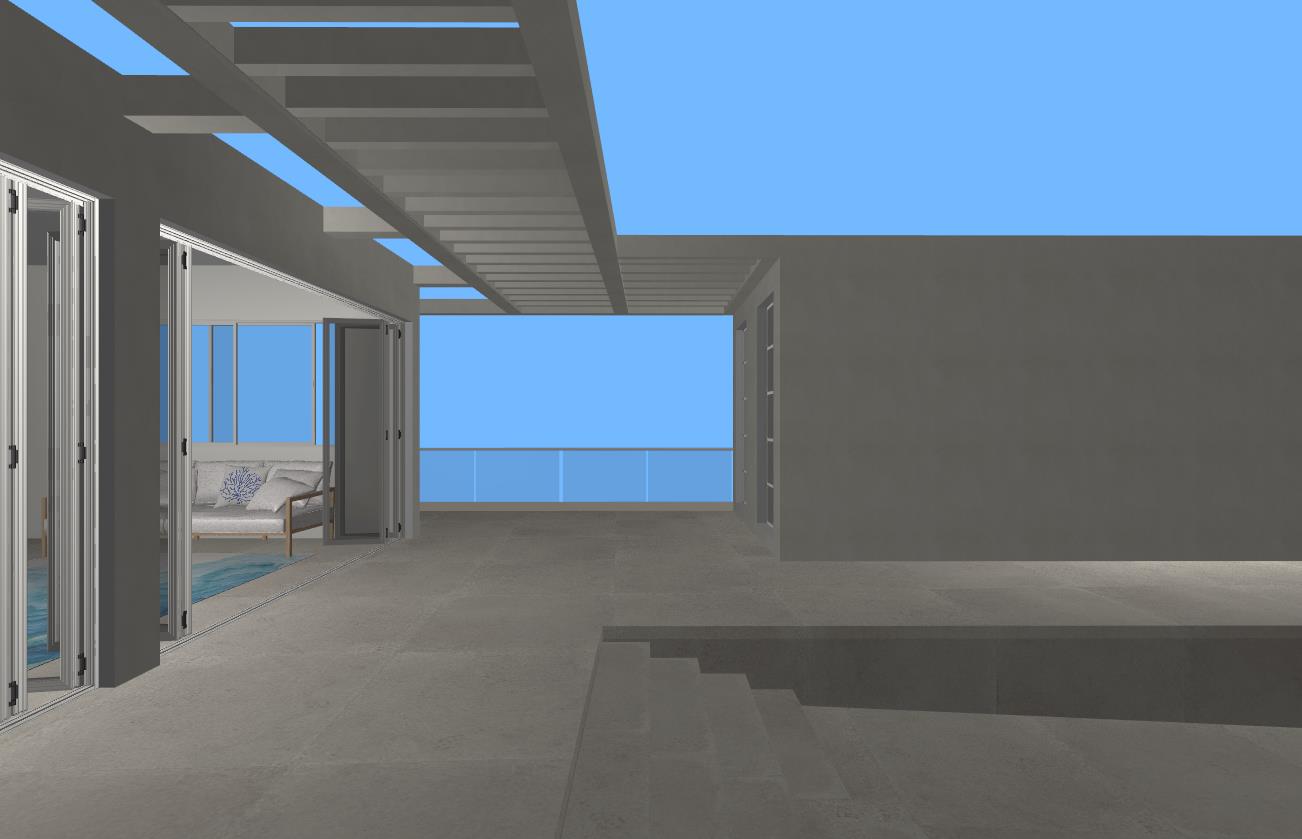
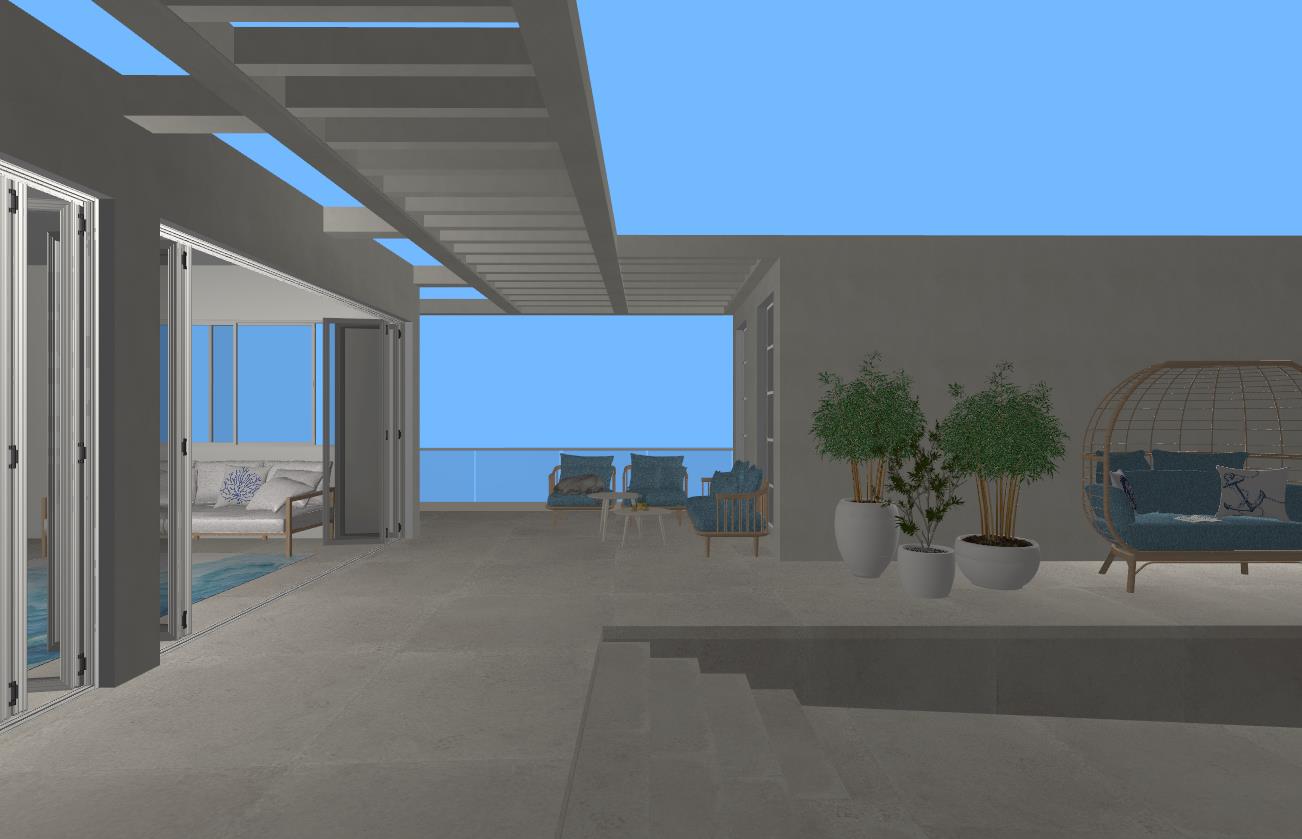
So, at this point we’ve finished creating our outdoor area. All the architectural elements are in the right place. Now, we can simply add furnishing items and objects that will help create a more realistic scene for our final rendering.
All that’s left now is to set our background and natural light. We can use an HDR background available in the DomuS3D library. HDR backgrounds are already set to have the correct settings for natural light, which makes using them in our project extremely simple. The only thing we need to do is rotate our image in order to position the area that we want to see in our rendering image.
If you can’t find what you need in the available HDR backgrounds, you can use a JPEG image as your background and manually set the natural light such that it aligns with the image. This process is a little bit more complex, so if you aren’t yet familiar with these features in DomuS3D, you can use an HDR background to set the natural light and luminosity, and then substitute the background image using photo-editing software such as photoshop.
Once our natural light source is set, all we have to do is launch our rendering and wait for our computer to process the image, creating the final result that we imagined at the start of our project.
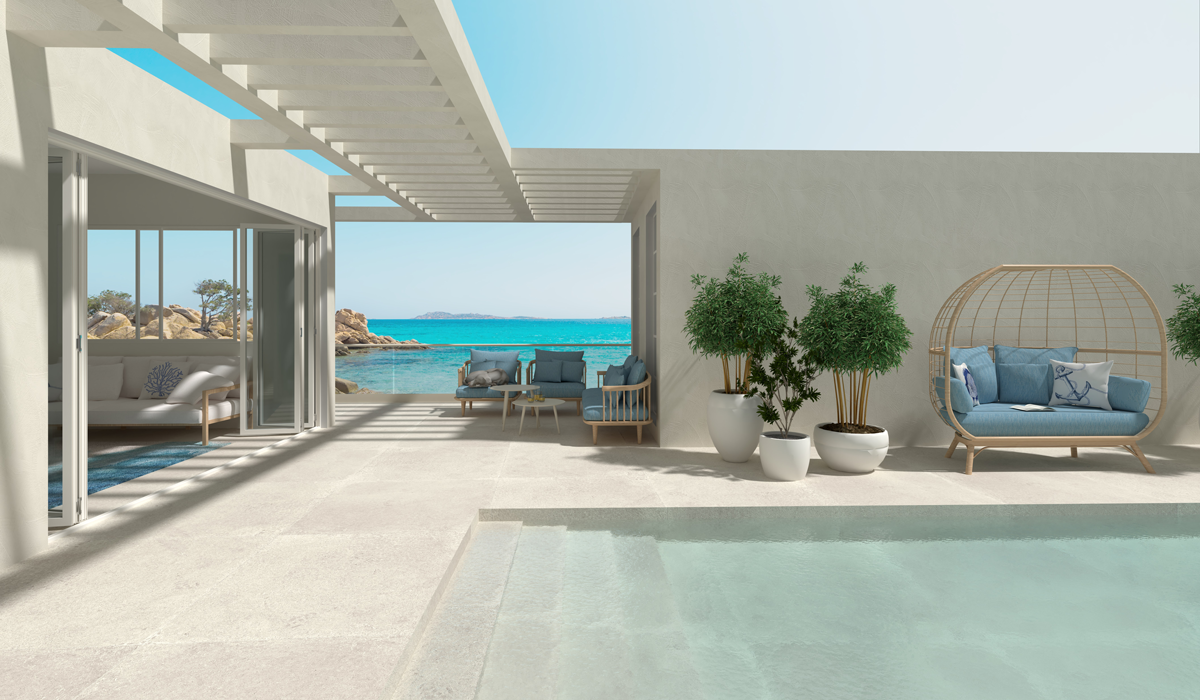
Now that the image is ready, all we need is to buy a new bathing suit and grab our sunglasses and wait for next summer to arrive!
Now it’s your turn! Try creating your own pool in DomuS3D and share your projects with us by tagging us on social media!
Talk to you soon!
To receive more information about our products, request a free consultation, or activate a subscription, please contact us.