23 April, 2021 | News
In the world of Interior Design, it is absolutely critical to curate the presentation of your projects and products as best as possible. A professional photo shoot is not always practical and, even when possible, can often be an expensive and time-consuming choice.
That’s why many manufacturers, retailers, interior designers, and architects are more often turning to digital solutions like professional interior design software such as DomuS3D, which can create high-quality rendering images like these.
This solution not only guarantees a greater level of flexibility as compared to a classic photo shoot, but gives your work unique character, as well.
In this article we’ll walk you though a few tips to help you easily create high-quality photorealistic renderings.
Let’s get started!
Along with mastering design software and learning the fundamental principles of photography, one of the best ways to start learning how to generate high-quality rendering images is to find inspiration in the work of those we look up to.
Whether you are a beginner or an expert, it’s always beneficial to find ideas and motivation in the work of experts in the field, with the goal of reaching such high quality in our renderings that it becomes nearly impossible to tell the difference between rendering and real photograph.
So, let yourself be inspired! One of the best ways is by reading magazines or websites of leading publications in the field, checking out pages that interest you on social media (above all, check out Pinterest, but don’t forget Facebook and Instagram too), and always checking out the product catalogs from your favorite manufacturers.
By surrounding yourself with this kind of content, you’ll not only find new ideas and perfect your craft, you’ll stay on top of the latest design trends in the world of interior design, making sure you’re always one step ahead.

We already mentioned the close relationship between rendering and photography; in fact, we can think of a rendering as a virtual photograph.
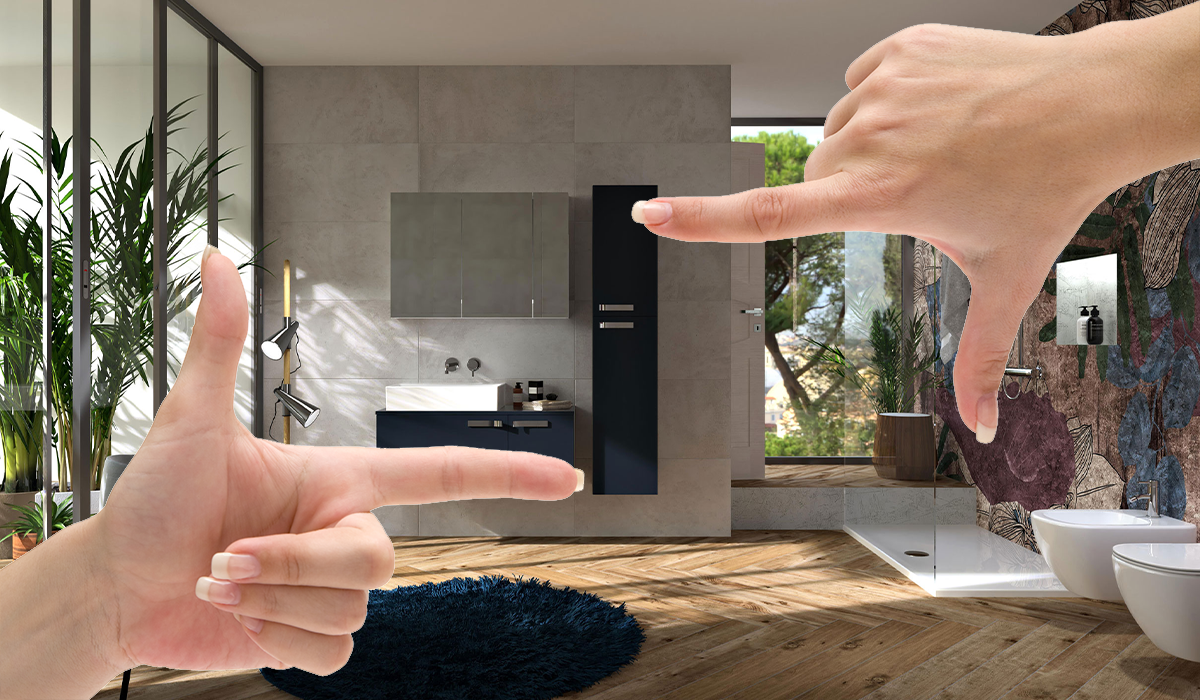
That said, it’s important that we enhance the scene that we want to represent by choosing the right point of view, one that brings out the unique details we want to highlight, frames the right field of view, and, views the scene from the proper height.
Each of these factors can be adjusted until we find the right combination for the effect we want to achieve, the target we want to reach, and the overall goals of our image.
For example, a horizontal rendering image with a wide-angle field of view can be the right choice for a complete view of the scene. On the other hand, an image with a narrow field of view is more suitable for capturing a specific detail, or for a more intricate or artistic glimpse of the scene.
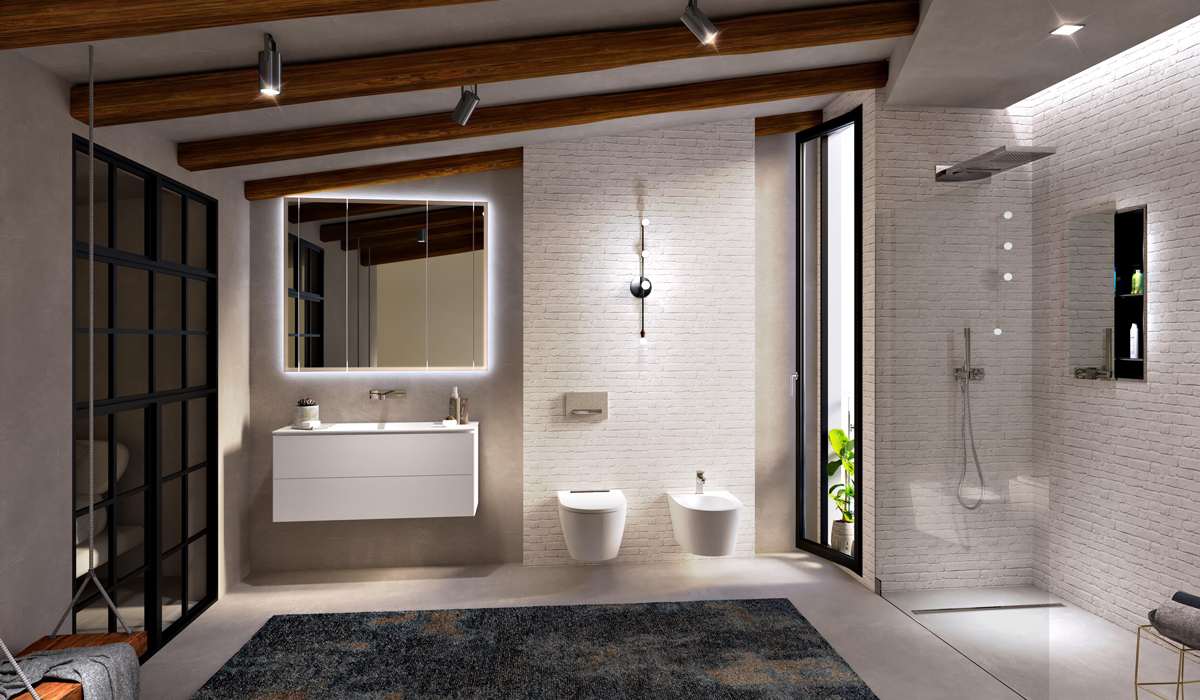
Managing, adjusting, and balancing lighting is one of the most important requirements for creating a good rendering image. The goal is to create a chiaroscuro effect, using light and dark areas in your scene to give more emphasis, contrast, and depth.
To obtain this effect, we can use both the natural sunlight and the artificial lighting from light sources that we’ve inserted into our scene.
Playing with the lighting in our scene gives us the chance to create a specific feeling within our image; for example, we can use the warm natural sunlight of a sunset or add a variety of different types of artificial light sources (lamps, spotlights, neons, LEDs, and more). Along with creating a more realistic atmosphere for your rendering, lights can be used to highlight specific areas or objects in your scene.
One example could be to use specific spotlights directed at strategic points within the scene; but be careful! It’s easy to fall prey to the risk of inserting too many directional spotlights that can then cancel one another out, which, although they illuminate the scene, give an overall appearance that is trivial, flat, and monotone.
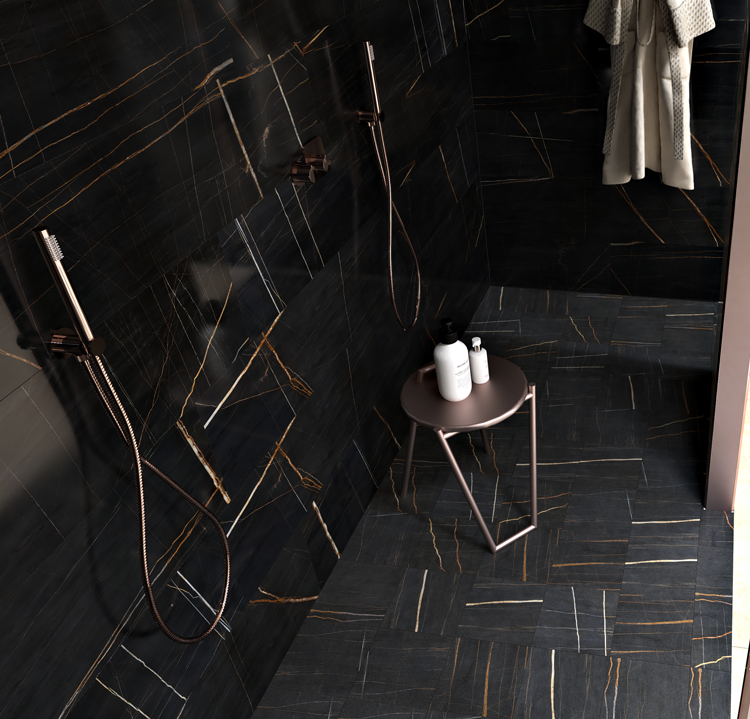
In the world of rendering, it is often the details that make the difference. It may even be necessary, at times, to curate the slightest details of your image, those that are able to offer that touch of imperfection that adds the final bit of realism to our image.
We often like to insert everyday objects into our scenes, perhaps even arranged in what appears to be a disorderly manner, which can help us simulate the aspect of a real, lived-in space.
For example, if we are designing a bathroom, we never forget to add little details into the scene like a perfume bottle near the sink, a loofah in the shower, a robe hanging by the door, or a towel draped over a stool.
These are often the small things that take our rendering to the next level, creating a more familiar and realistic overall effect.
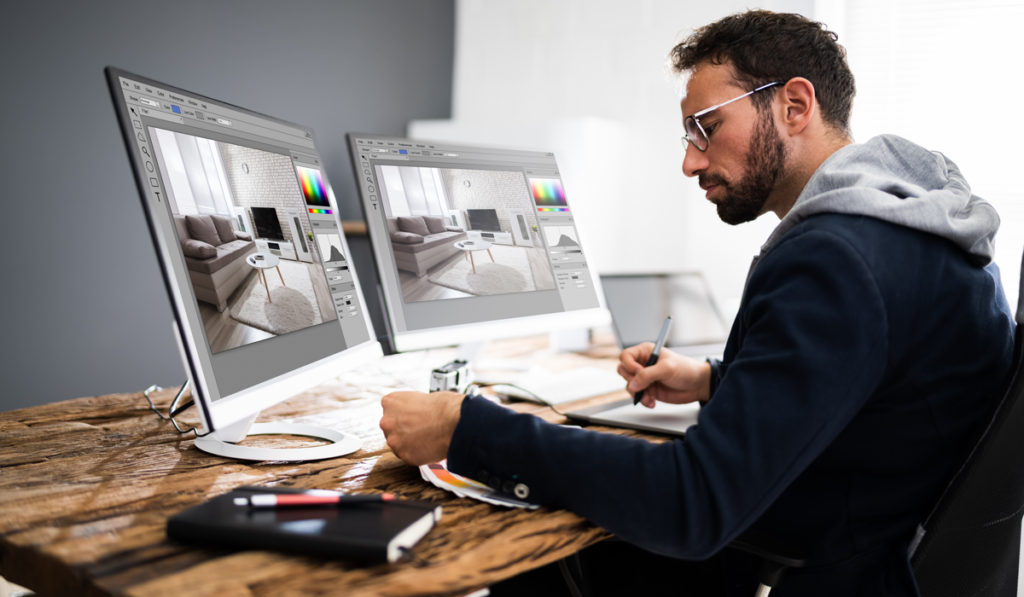
Images generated by today’s rendering engines are by default high-quality and high-precision. To reach perfection, however, it is important to know how to edit and correct your image in post-production.
Some software, like DomuS3D, already have post-processing tools built-in, which allow you to adjust the principal parameters of your image like exposure, contrast, color balance, or even add lighting effects. Or, you can use separate software dedicated to photo-editing and to image optimization to obtain a curated and professional final result.
For effective post-processing, you need to start with a rendering image that is already good quality and which can be enhanced with some light photo-editing. If, on the other hand, our starting image is of poor quality, don’t expect to pull off a miracle…it’s better to adjust our project and relaunch our rendering!
In this article we’ve taken a look at 5 rules to follow to generate a photorealistic rendering, but we can easily add a sixth, as well: Never stop learning! Studying, training, and constant practice are a necessary part of improving your skills and reaching your desired goals.
Our final word of advice? Take part in training courses dedicated to the software you are using (if that’s DomuS3D, check out our available training courses here) and consult photography textbooks, rendering manuals, and any other resources you can to help you learn new tricks and tips that will help you continue to create high-quality rendering images.
To receive more information about our products, request a free consultation, or activate a subscription, please contact us.