30 July, 2021 | News
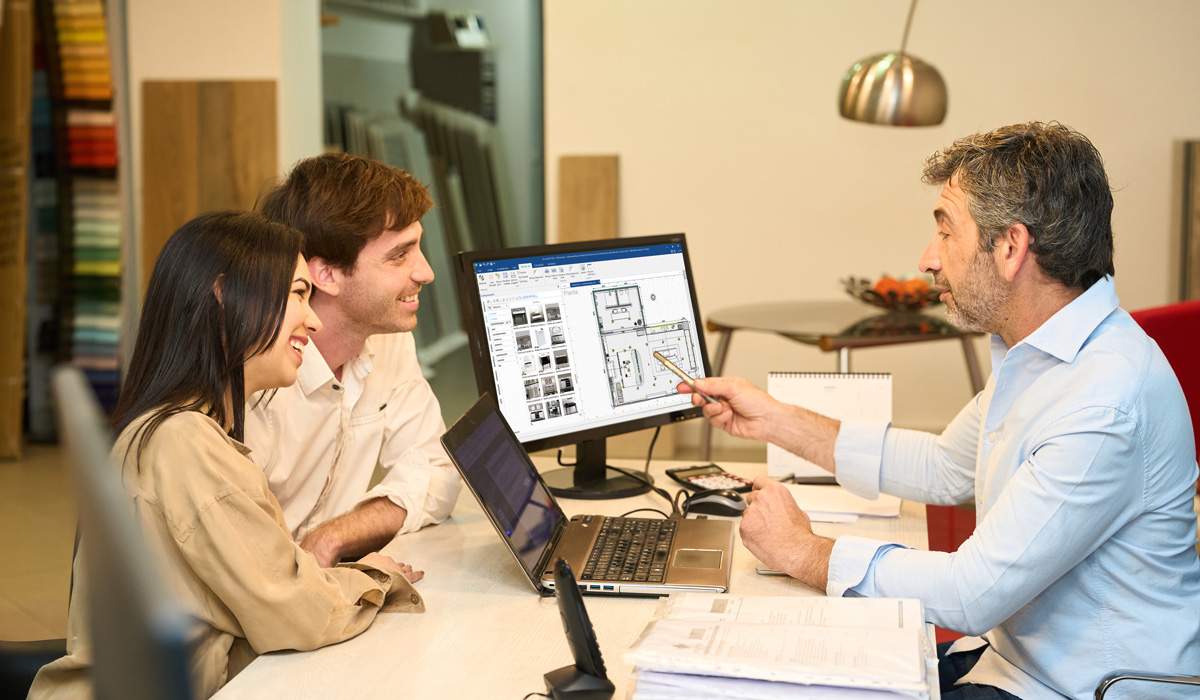
We’ve said it before, and we’ll say it again: HD visualization is an easy way to help your customers preview design projects and remodels and adds huge value to your business.
If you’re an interior designer, tiling professional, or bath and kitchen remodeler, implementing visualization software will save you time, save you money, and set you apart from your customers.
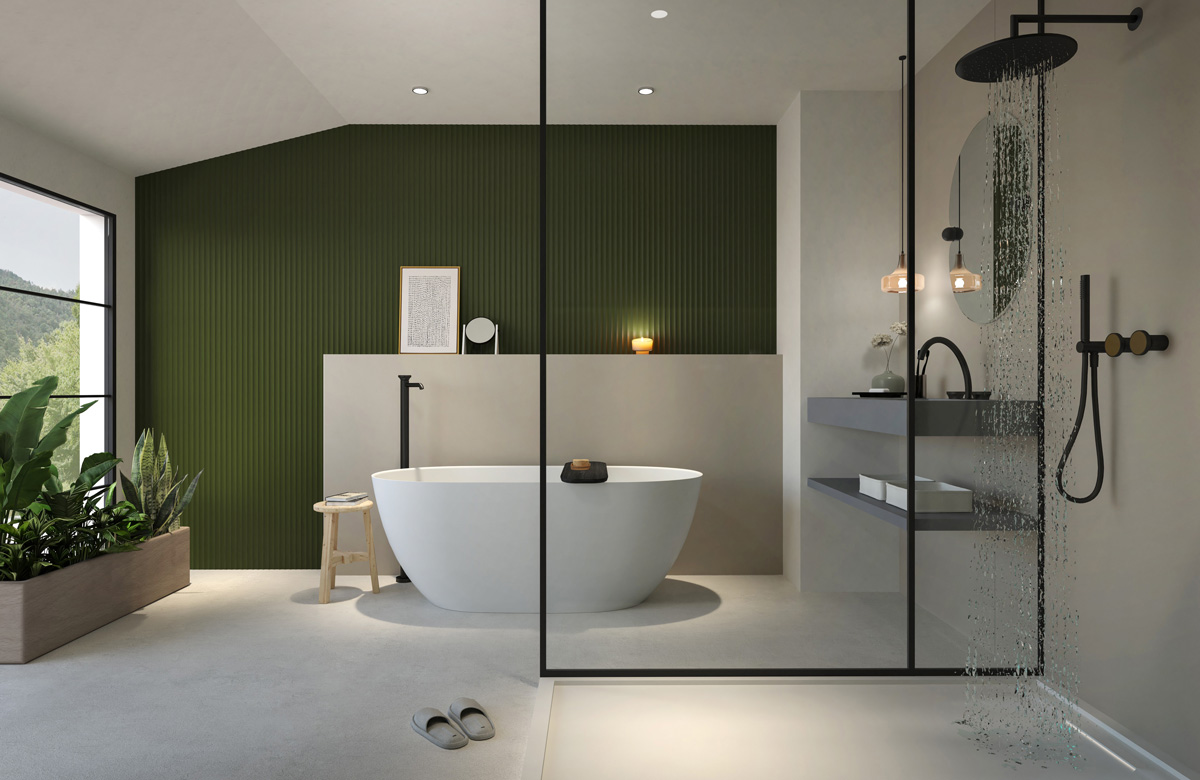
HD Renderings are a great place to start. They give you a photorealistic image of what a newly designed space will look like in the future, all in the planning phase of a project.
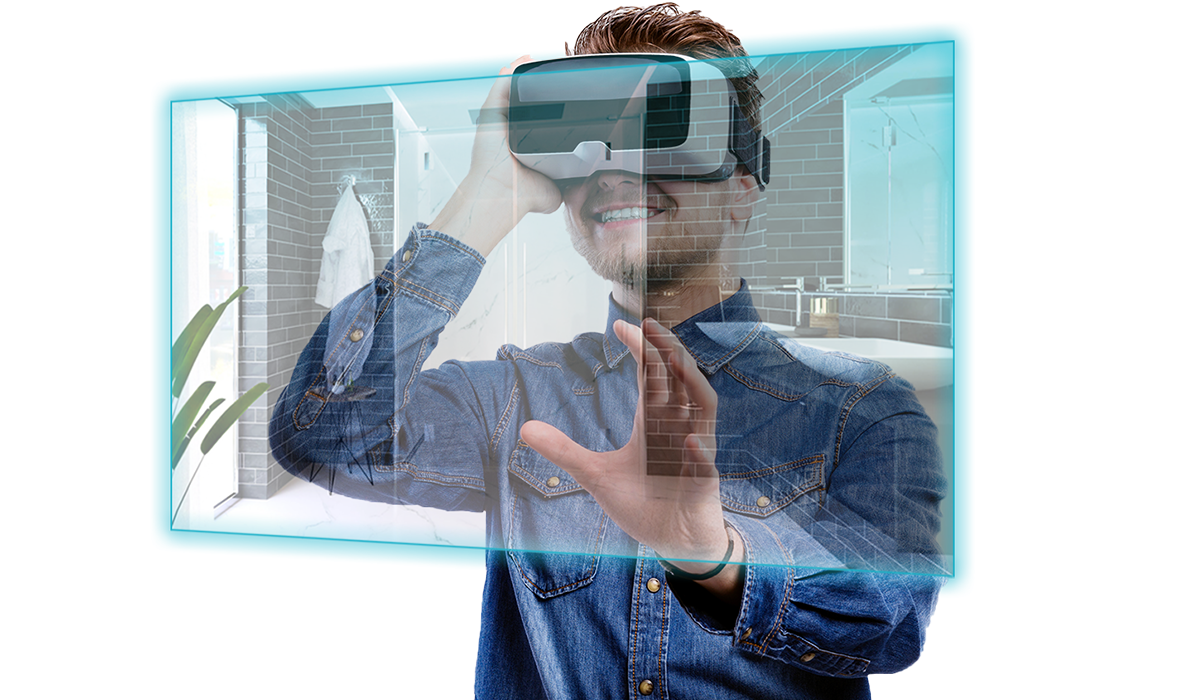
But to take it to the next level, you’ll want to start creating immersive virtual reality previews or 360° panoramas of your projects. With DomuS3D’s built-in tools, generating these visual assets takes only a few minutes.
In this article, we’ll walk you through the 7 steps to follow to create the perfect VR or 360° panorama of your next design project or remodel. Follow along and you’ll be using DomuS3D like a pro in no time.
A quick note: if you aren’t yet using DomuS3D and are looking for more information about our professional interior design software, this article may be a bit advanced for you. If you’re looking for the basics on DomuS3D, this is a good place to start or you can send us a message here and one of our design experts will reach out to talk in more detail.
Let’s open up our project in the 3D navigation window in DomuS3D. Click on the “Center” button to position your viewpoint in the center of the room. You can then use your mouse to perfect your position.

Using the “N” key on the keyboard, you can set your view upright, so you are looking straight ahead. This is going to be the fixed camera position for your 360° panoramic image.
Rotate left and right (you can use the keyboard arrows) to make sure you are right in the center of the room. As you rotate, you should be roughly equidistant from all walls, doors, windows, and anything else along the edge of your room.
Next, let’s save our view. Click the “Save View” button located in the Navigation tab of the main Ribbon. We can also hit the F3 key as a shortcut.
We can give it a name, so we remember what it is: let’s call it “360° view”
Switch back to the layout window and you’ll see a new camera icon that has been inserted into the middle of your room. This is the view we just saved (quick check: is the camera in the place you thought?).
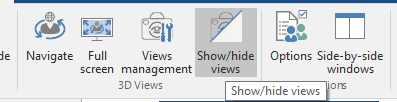
If you don’t see the camera icon, try clicking on the “show/hide views” button in the Virtual Navigation tab of the main Ribbon.
Right click on the camera and select “Properties”. We’re now going to give the camera a good height for our 360° image.
In the properties window that appears, you’ll see (x,y,z) coordinates for “Eye Position” and “Eye Target”. The z coordinate is the height: let’s set it to 125-135 cm (or 49-53 inches), the ideal camera height for an average sized room.
Now, let’s right click again on the camera icon and this time select “Navigate”; this will open the virtual navigation window back up so we can see the changes we just made to our viewpoint.
We’re almost ready to start processing our 360° rendering image. Let’s switch back to the navigation window and in the top ribbon, we’ll click on the “Start Rendering” button.
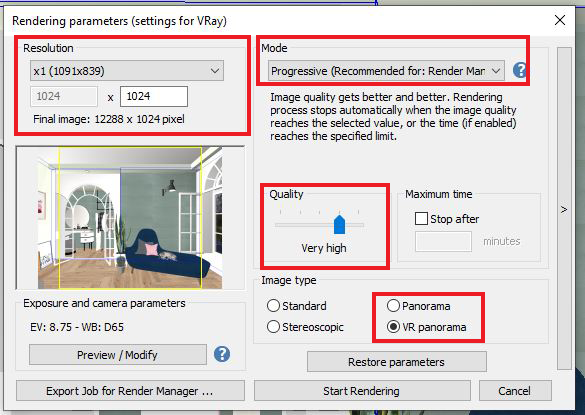
In the window that appears, we’re going to adjust our settings to optimize our rendering. Let’s select “Progressive” from the “Mode” drop-down menu and then select “Very High” (or “Max” if you have a high-performing PC) for the quality.
Next, select the type of image you want to generate. Here, we simply click “panorama” for a 360° image that we can view on our computer, tablet, or smartphone (like this) or “VR Panorama” if we want to view our 360° image in a virtual reality headset.
Lastly, we need to set the resolution of our image. We recommend either 1536px for large images (high-performing computers only), 1024px for medium images, or 512px for smaller images.
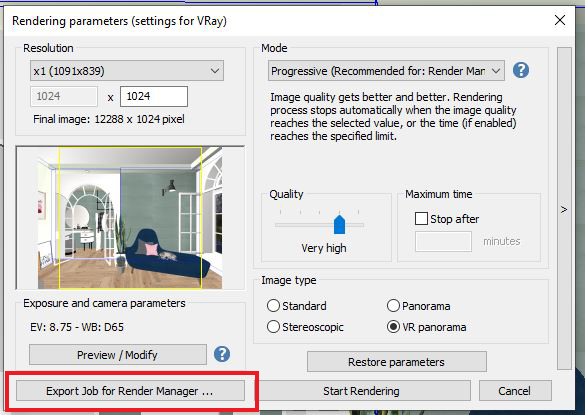
Ora dobbiamo inviare il Job di progetto (pacchetto per la renderizzazione del progetto) a Render Manager per l’elaborazione. Facciamo clic su “Esporta Job per Render Manager” e inviamolo all’applicativo.
We now need to send the job in hand to Render Manager for processing (job = group of files for rendering the project). Click “Export Job for Render Manager” and send it on its way.
If you still aren’t sure how to use Render Manager to process your renderings, take a quick look at this article. Render Manager can save you time by rendering images in the background while you keep working in DomuS3D.
In Render Manager, hit the play button to launch your rendering. Sit back, relax, and let your computer do the work.
360° panoramas and VR images will take longer than standard renderings to process since they actually contain multiple images which are being rendered at once. Give your computer some time to work (we recommend letting it run overnight) and check back in in a few hours.
Did you wait a few hours? Then your newly rendered 360° image is probably ready. Check back in your dedicated rendering folder and you’ll see your freshly created image.
To open it up in DomuS3D, simply click on “Open Image” and select the file named “denoiser.png”. We can then view the 360° image by clicking on “Preview”.
When your final image is ready, click “Save Panorama”. It’s now ready to share. to share it on DomuS3D 360, simply click the “Share” button and upload it to a dedicated project page on DomuS3D 360°. Not sure how to do that? Check out this article for a step-by-step guide.
And if you had clicked on “VR panorama” earlier, your file can be uploaded to your virtual reality headset for viewing in immersive virtual reality. If you’re a retailer and you have a headset in-store, this can be a really cool experience for your customers (just make sure you keep that headset sanitized after each use!).
What’s Next?
Implementing 360° images into your design work can really help your customers visualize design projects and remodels and help them understand what a new space will look like at the end of a project. With DomuS3D, you have all the tools you need built right into the program.
If you end up following the steps above to create your next 360° rendering, make sure to tag us with the final result on Facebook, Instagram, and LinkedIn. We can’t wait to see your design!
To receive more information about our products, request a free consultation, or activate a subscription, please contact us.