30 March, 2021 | News
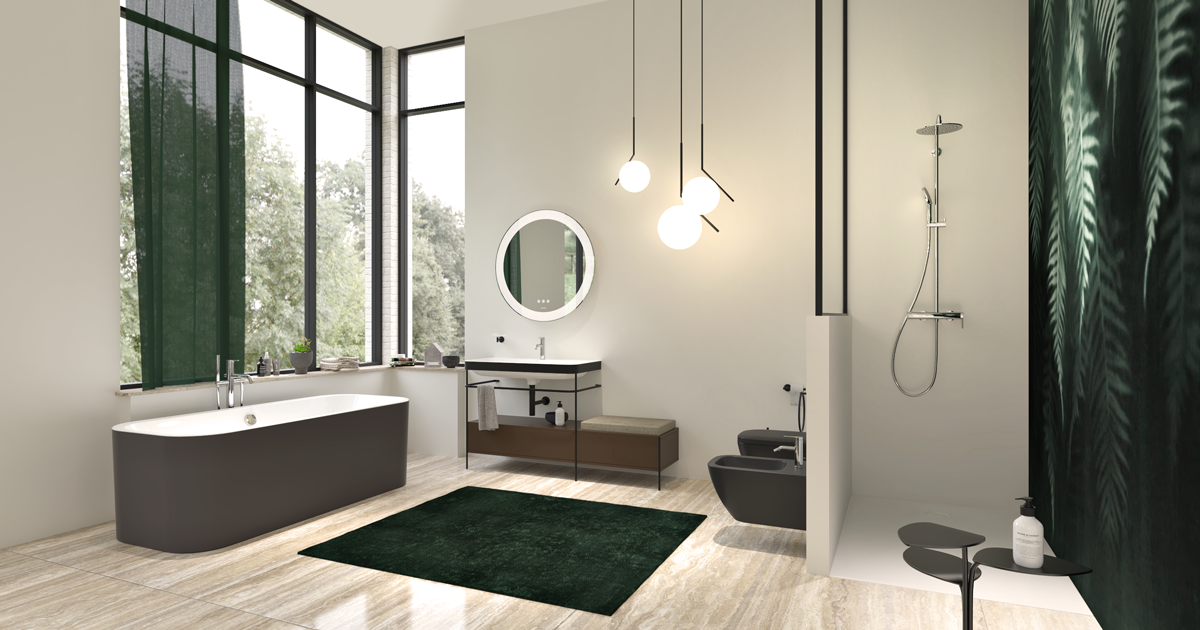
If you’re reading this, you most likely know that DomuS3D lets you create high-quality visual assets to share with your clients so you can help them see your designs. But did you know that you can utilize built-in tools like Render Manager to help you process your renderings?
Render Manager is a satellite application to DomuS3D that comes standard with all monthly and annual subscriptions. With Render Manager, you can process renderings in the background while you continue to work in DomuS3D, refining your project or creating a new one.
Render Manager lets you have more control over how you organize your workflow, so you can increase productivity by deciding when and how to prioritize your rendering processing.
We have already taken a look at the importance of 3D rendering to help present our design ideas; now, let’s take a closer look at how can we utilize the tools we have to best process 3D renderings without interrupting our work.
Getting Started with Render Manager
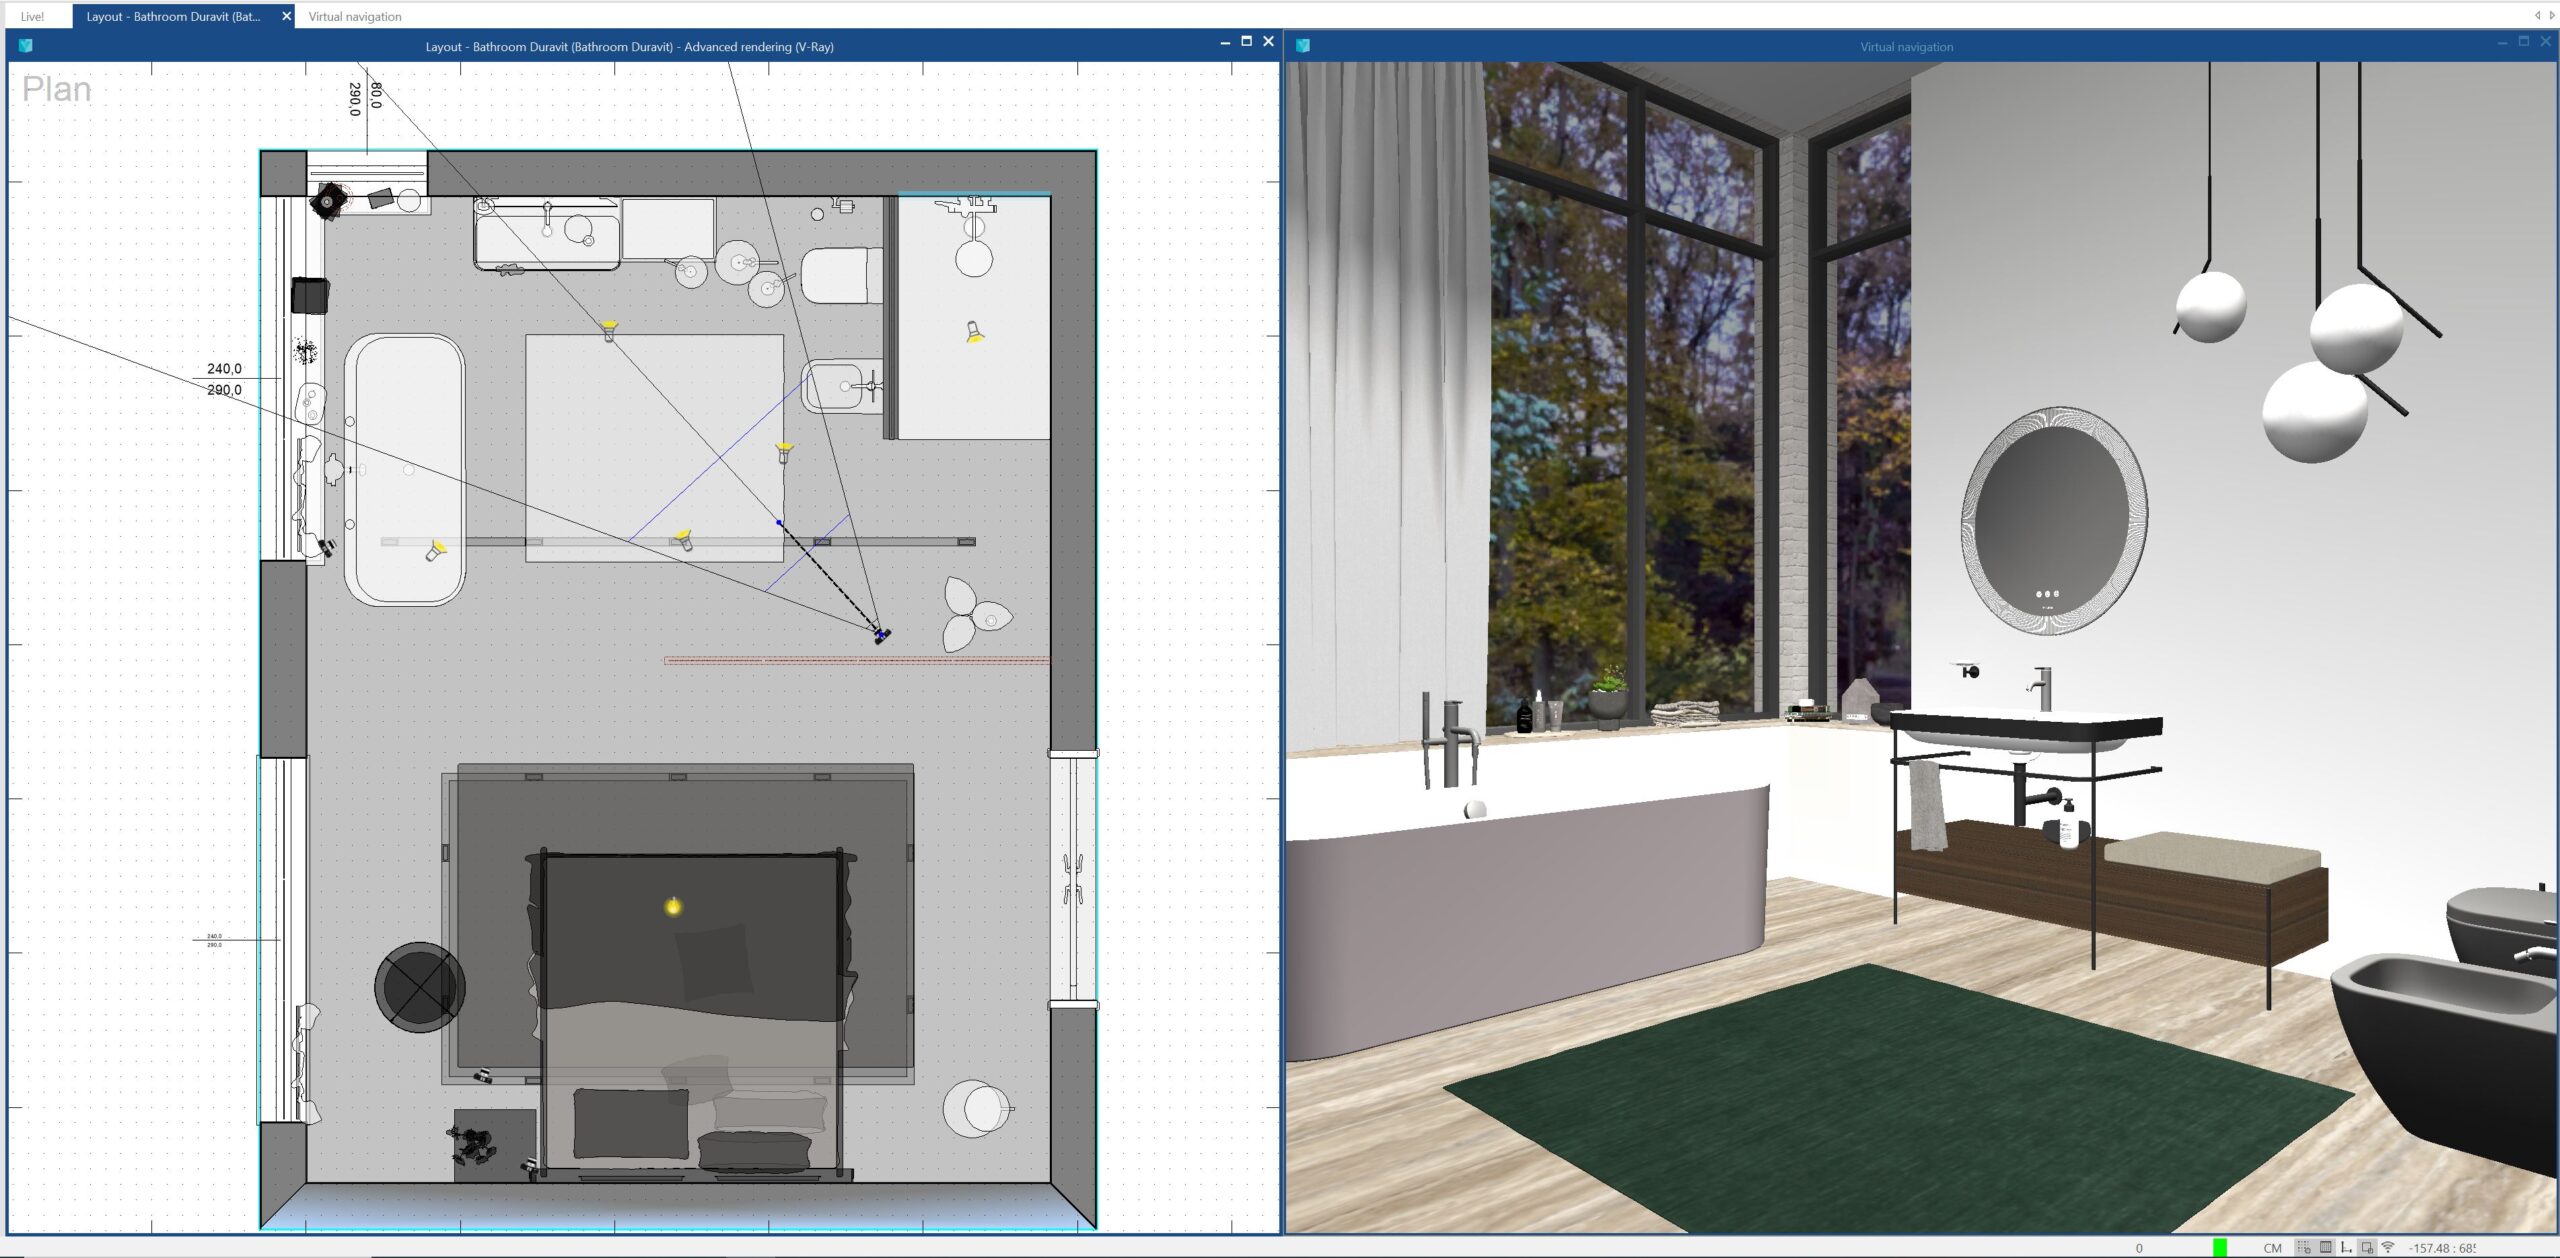
Let’s open up a project in DomuS3D. Once we’ve set our viewpoint in 3D, we’re ready to generate our rendering.
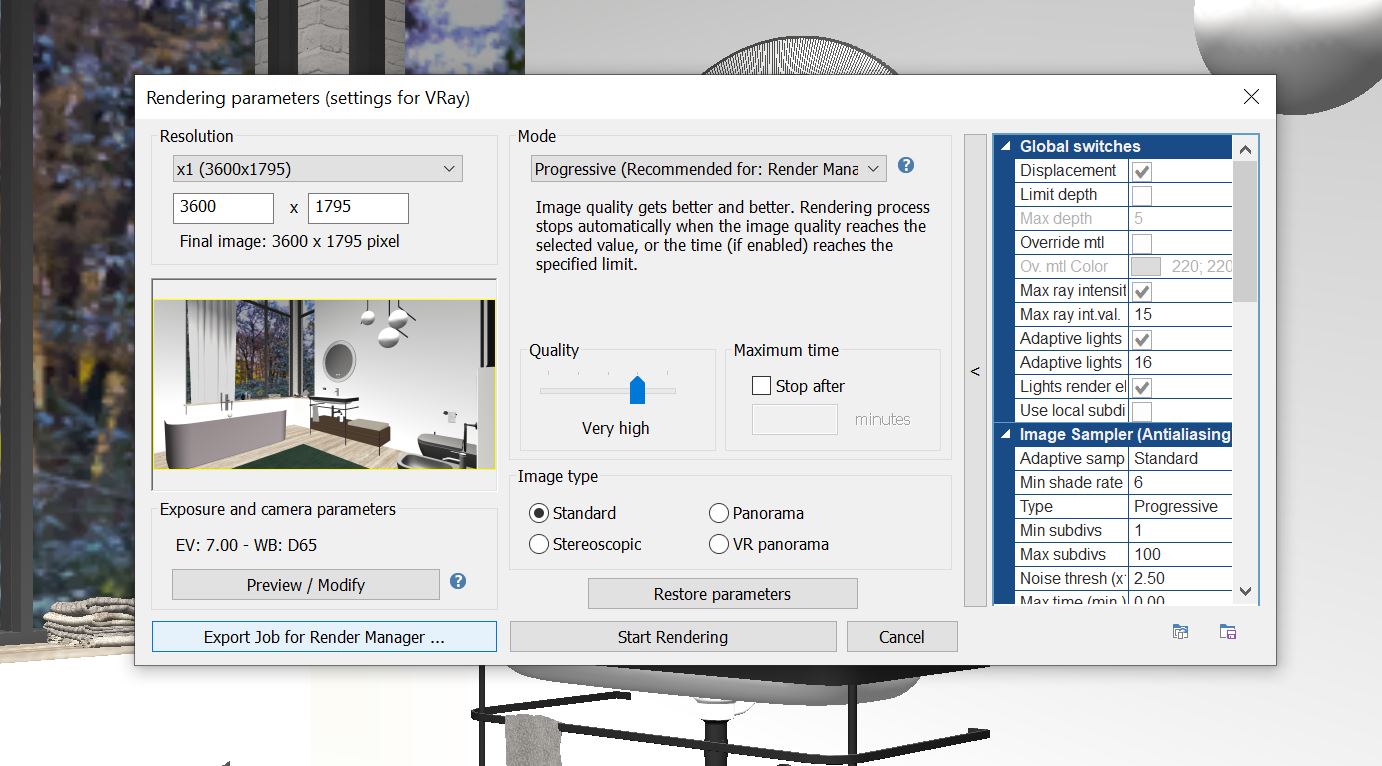
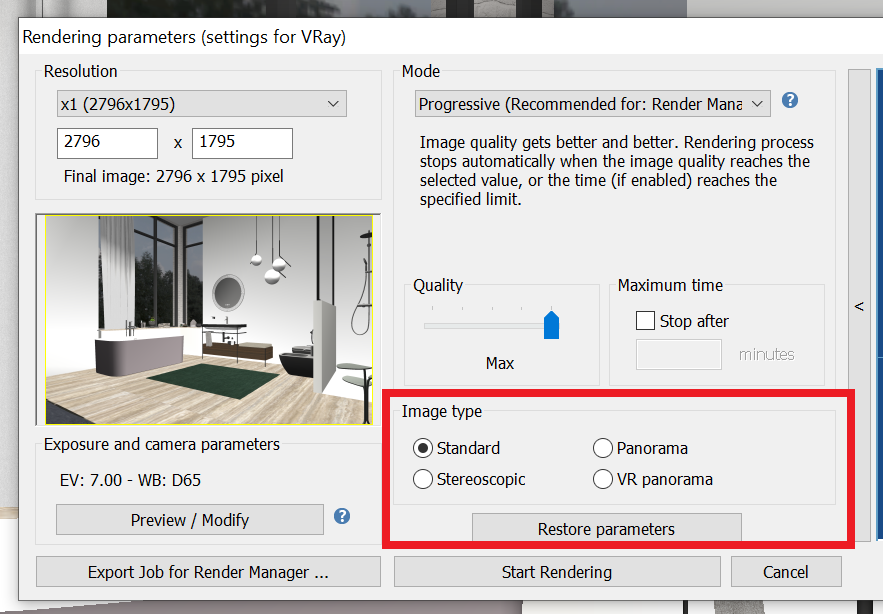
If we click on “Start Rendering ”, we’ll see a pop-up window with a few options. In the dropdown menu for “Mode”, let’s select “Progressive”. Then, we’ll select “Very High” for quality and make sure we have “Standard” selected for “Image Type”.
From here, we click on the button “Export Job for Render Manager”.
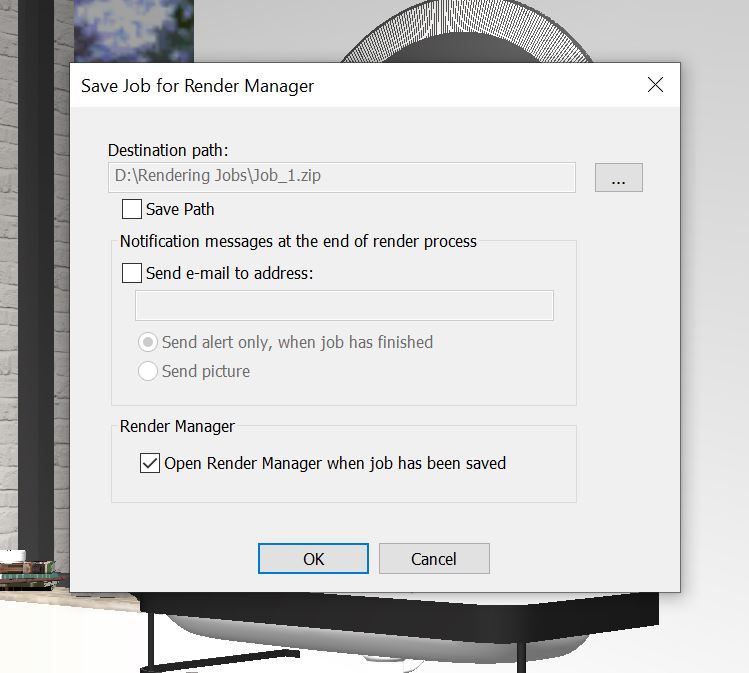
DomuS3D will automatically name the file “Job_1”. Next, click on the box that says “Open Render Manager when Job has been saved” and click OK.
Launching your Rendering
Once Render Manager opens up, our Job file will automatically appear in the left-hand menu. To start our rendering, all we have to do is click the play button at the top of the screen.
The rendering will begin processing automatically and will stop once it reaches the preset quality level. We can now minimize our window and keep working on our computer, either within DomuS3D or anywhere else.
Voila! When your rendering is finished, Render Manager will stop processing the image and save the image file in the same folder as before. You can now open up your rendering image in DomuS3D, Photoshop, or share it directly with your client via email or DomuS3D 360.


Pro Tips
A few pointers when using Render Manager can make our work even easier and optimize our workflow within DomuS3D.
1. Have a dedicated rendering jobs folder on your computer
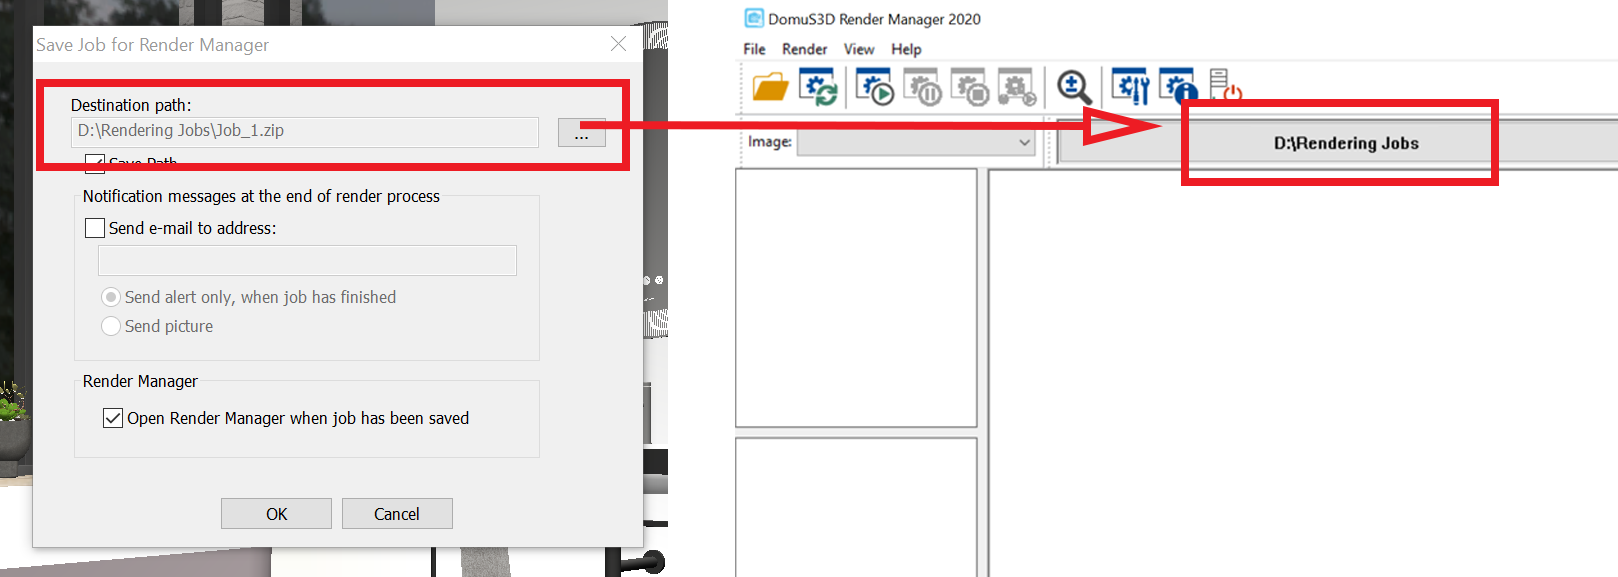
First, make sure you have a dedicated rendering jobs folder on your computer. This will make it much easier to remember where to save rendering jobs that need processing and where to go to find your finished images when processing is done.
When you export a rendering job in DomuS3D, make sure you are selecting this dedicated folder and that it is also selected within Render Manager at the top of the window. These two folders need to always be the same so that DomuS3D and Render Manager are looking in the same place for your renderings.
Think about it as the filing cabinet where you keep all your rendering jobs. Within your filing cabinet, you have specific filing folders for each rendering job.
2. Explore different types of rendering images
Next, you have a few options when rendering in Render Manager. You can create static images (i.e. photographs), 360 panoramas, or even 360 virtual reality previews. Play around with all these options to find out what works for you. We like to combine static rendering images with more immersive 360 previews to get a complete idea of a room.
Keep in mind that each 360 panorama is made up of multiple static images that are then combined. This means that rendering a 360 panorama will take longer than rendering a single static image. Give your computer time to complete processing for your 360 panoramas. Which leads us to…
3. Render overnight
Lastly, if you have a large number of renderings to process or a high resolution 360 panorama, open up Render Manager at the end of the day and let it run overnight. When you come back to your computer in the morning, all your renderings will be ready.
And don’t forget to click on this button:

in Render Manager so your computer will automatically shut down after processing the final rendering in the queue.
A Few Final Thoughts
If you’re looking for more info about how to use Render Manager, don’t forget to check out the DomuS3D support site where you can find articles such as How to use Render Manager, Options within Render Manager, and Render Manager Commands.
If you still need to get started with 3D rendering and visualization, send us a note here to see how easy it is to get started.
Happy Designing!