31 July, 2023 | News
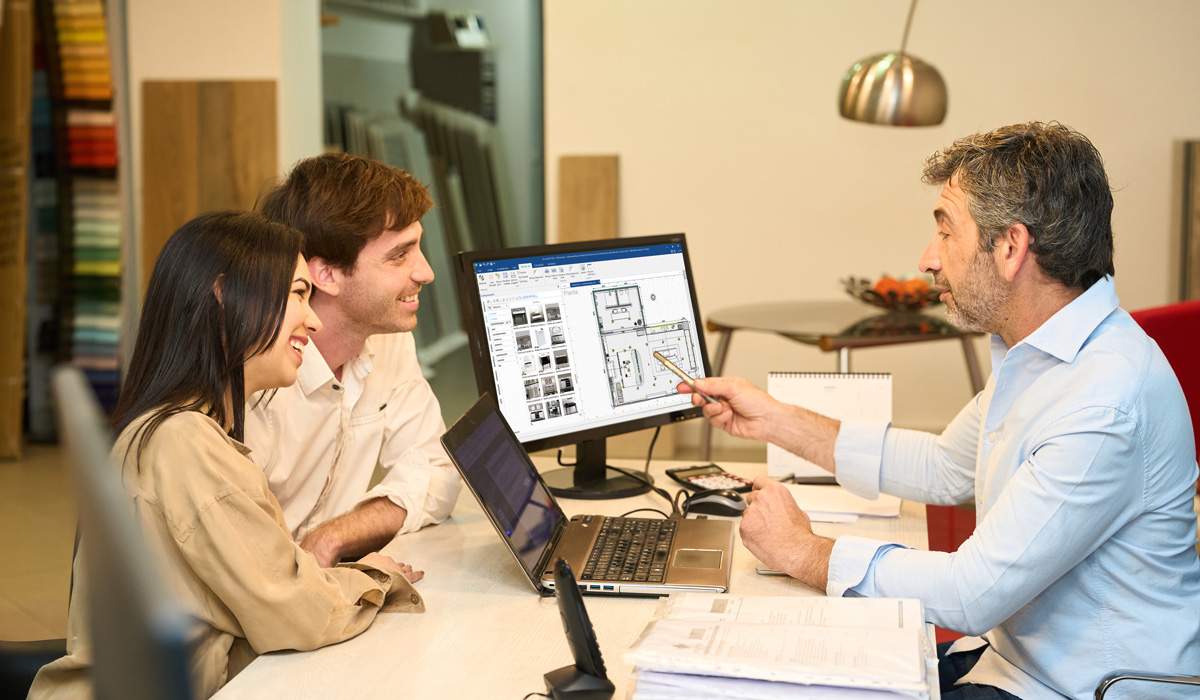
Our professional software DomuS3D allows users to quickly and easily design any interior space, from a single room to an entire apartment. From the 2D floorplan to 3D design, designers can build and furnish any type of space in the program, giving them the ability to provide clients with a realistic, and extremely convincing graphic representation of a proposed project.
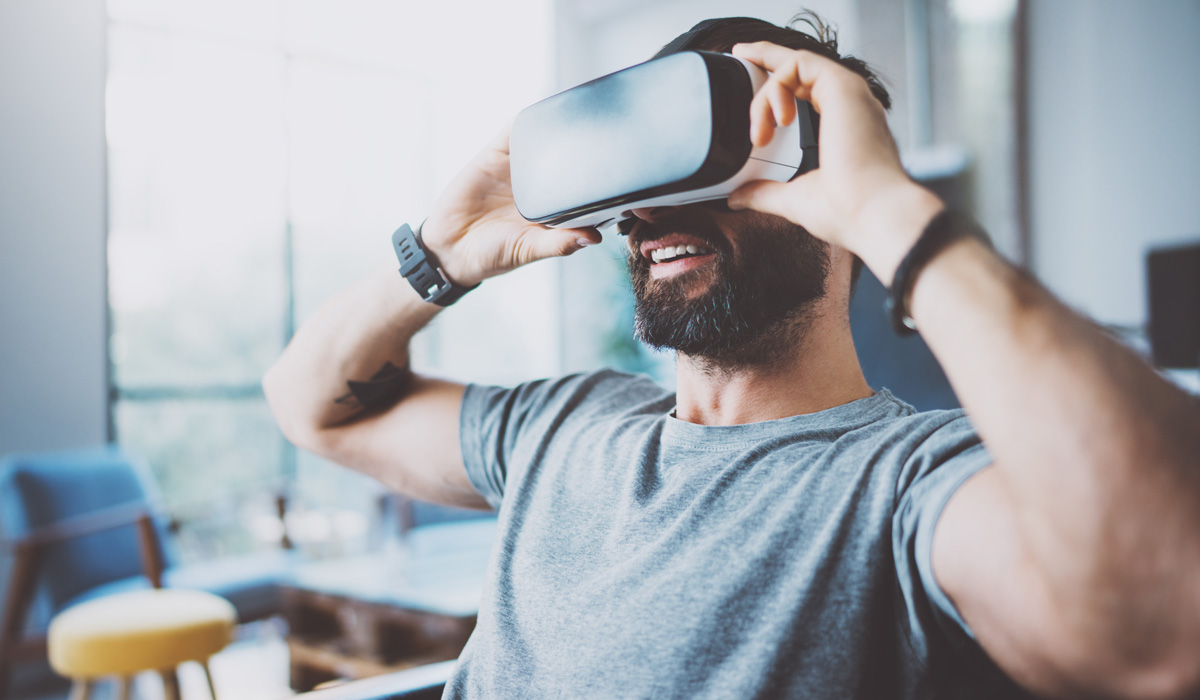
Once finished with the design phase of a project, DomuS3D users can easily generate photorealistic renderings of the space they created. The program integrates the V-Ray Rendering Engine to allow users to obtain highly realistic rendering images in a short time. Similarly, users can create 360° panorama images, as well as Virtual Reality (VR) images for 3D headsets.
The V-Ray Rendering Engine has been integrated and optimized in DomuS3D to allow all users of the program to very easily generate photorealistic renderings. There are, however, a few tips to follow that will help you create rendering images that represent your 3D space with the highest level of realism possible.
In this article, we’ll take a look at some of the most common errors NOT to make if you want to create the most realistic rendering images possible. Images that will really “wow” your clients and have them asking…”Wait, is that a rendering or a photograph?”…!
Let’s jump in!
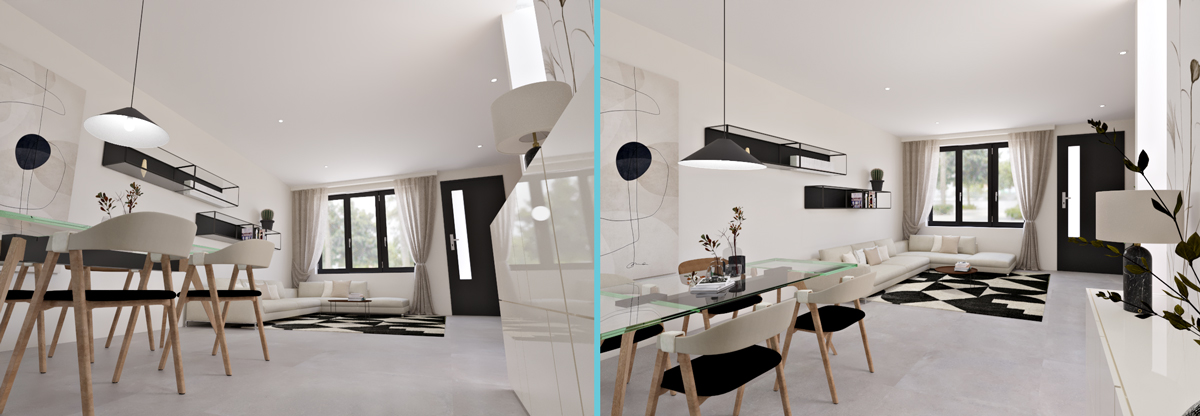
Renderings are just like a photograph, and that means that choosing the right point of view and framing of your scene, just like with a camera, are fundamental parts of obtaining a final image that conveys positive sensations and concepts.
Therefore, choosing the correct point of view will help you achieve a more realistic and convincing image to show to your client. This can be achieved by paying attention to three main factors: perspective, elevation, and focal length.
First, it is essential to ensure that the perspective is a “vertical frame“, avoiding a perspective that is an “oblique/inclined frame”. The latter (for example, a view from above to below) will make the image look unnatural and dizzy, making the overall space less appealing.
In DomuS3D, you can “normalize” your view in the navigation window by simply clicking the N key on your keyboard, straightening your viewpoint to have perfectly vertical walls: the secret lies in positioning the “focus” of the image at the same height as the camera.
That said, it is important not to underestimate the height of the point of view: in an interior design rendering, the recommended height is between 90 and 130cm from the ground.
Lastly, a final parameter to consider is the Field of View.
The field of view paramter controls the same effect that you obtain when using different lenses on a camera, for example a wide-angle lens (typically a 12 to 35mm focal length), a standard lens (with focal length of 50mm) or a telephoto lens (with focal lengths greater than 100mm).
In small spaces with little depth, it can be useful to use a wide-angle (field of view greater than 60°) in order to view a larger area. Conversely, in large spaces, it is best to use a smaller field of view (45° – 55°) to avoid perspective distortions.
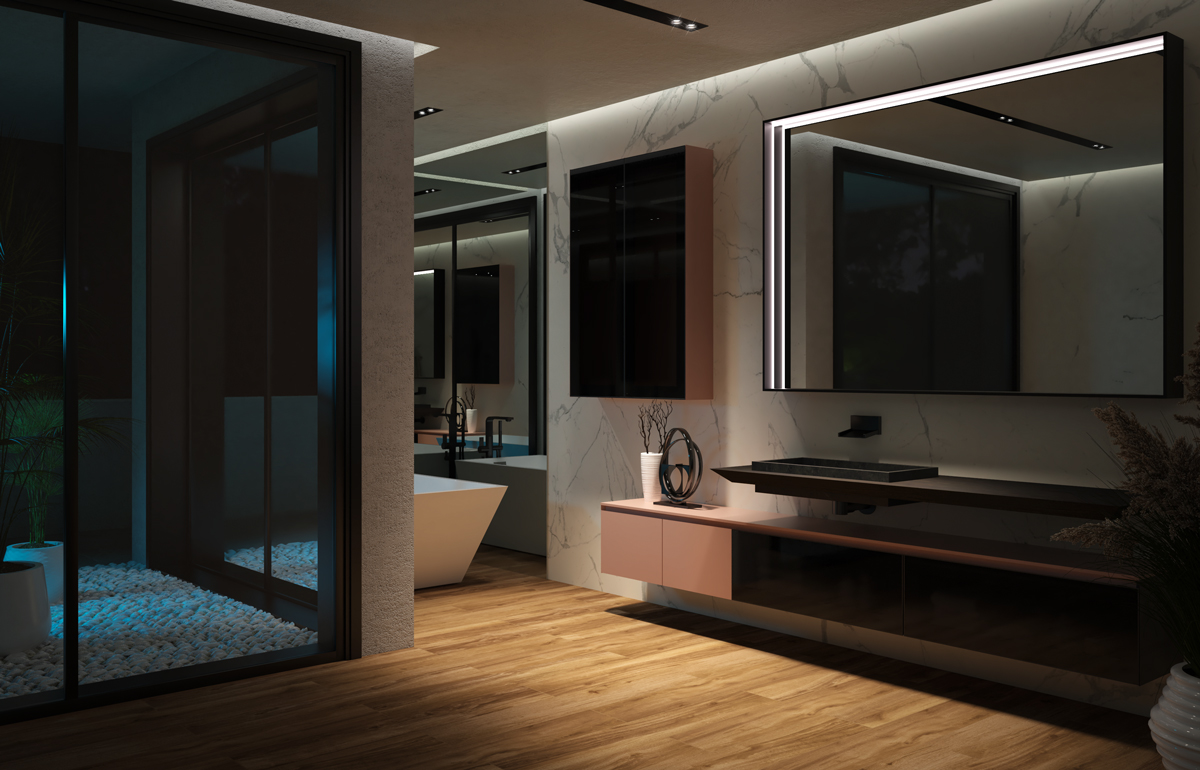
In an interior design rendering, proper management of lighting is a critical part of achieving an overall pleasing atmosphere in your image.
The 3D room, just like in real life, can be illuminated by natural light, artificial light, or a well-balanced combination of both.
With sunlight (sun and sky), for example, it is possible to simulate the various times of the day (morning, afternoon, sunset, etc.), giving our image the desired effect considering the purpose of the rendering. It is important to adjust sunlight attentively to avoid excessively overexposed areas or creating areas that are too dark; the goal is to balance the sunlight to bring clarity and visibility to all desired elements and materials. Sunlight, along with the sky, is undoubtedly the most natural, evocative, and “realistic” lighting available when set correctly.
As for artificial lighting, DomuS3D allows users to insert many types of lights into a project, including light bulbs, spotlights, and LED strips to accurately recreate the lighting of any room.
Using artificial lighting, you can highlight specific areas of your room or even a specific piece of furniture, creating interesting chiaro-scuro effects that give a greater sense of realism to the scene. Furthermore, you can reproduce the real lighting profile of a specific light source using the IES files provided by the manufacturer.
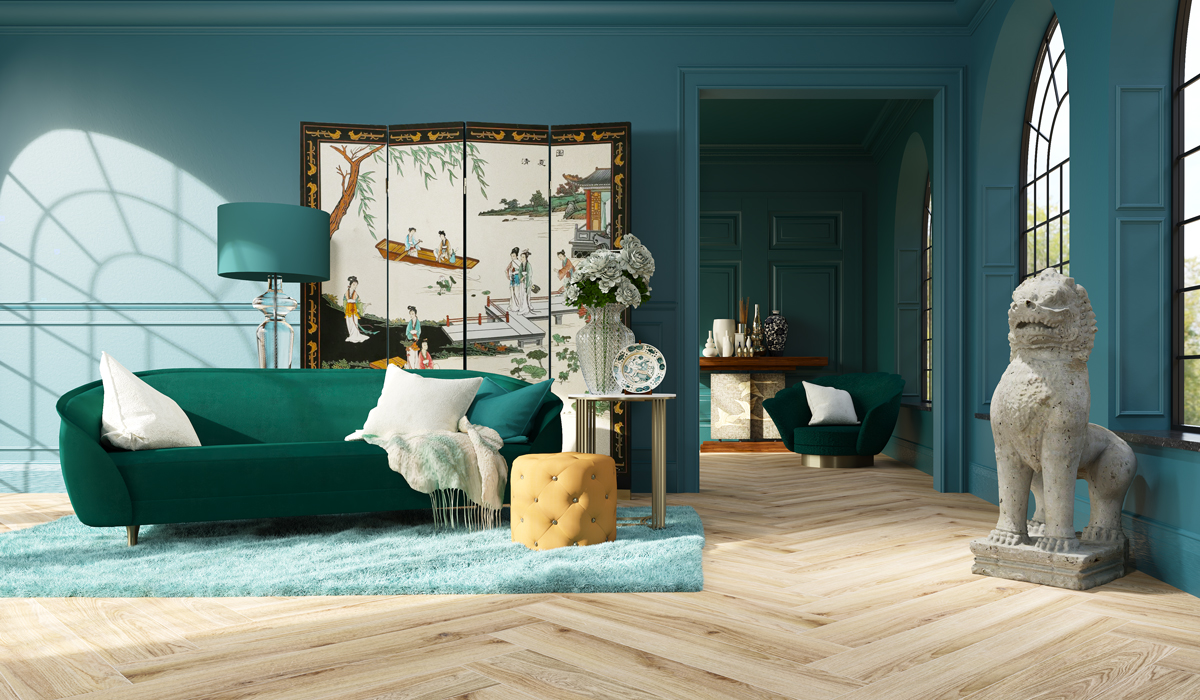
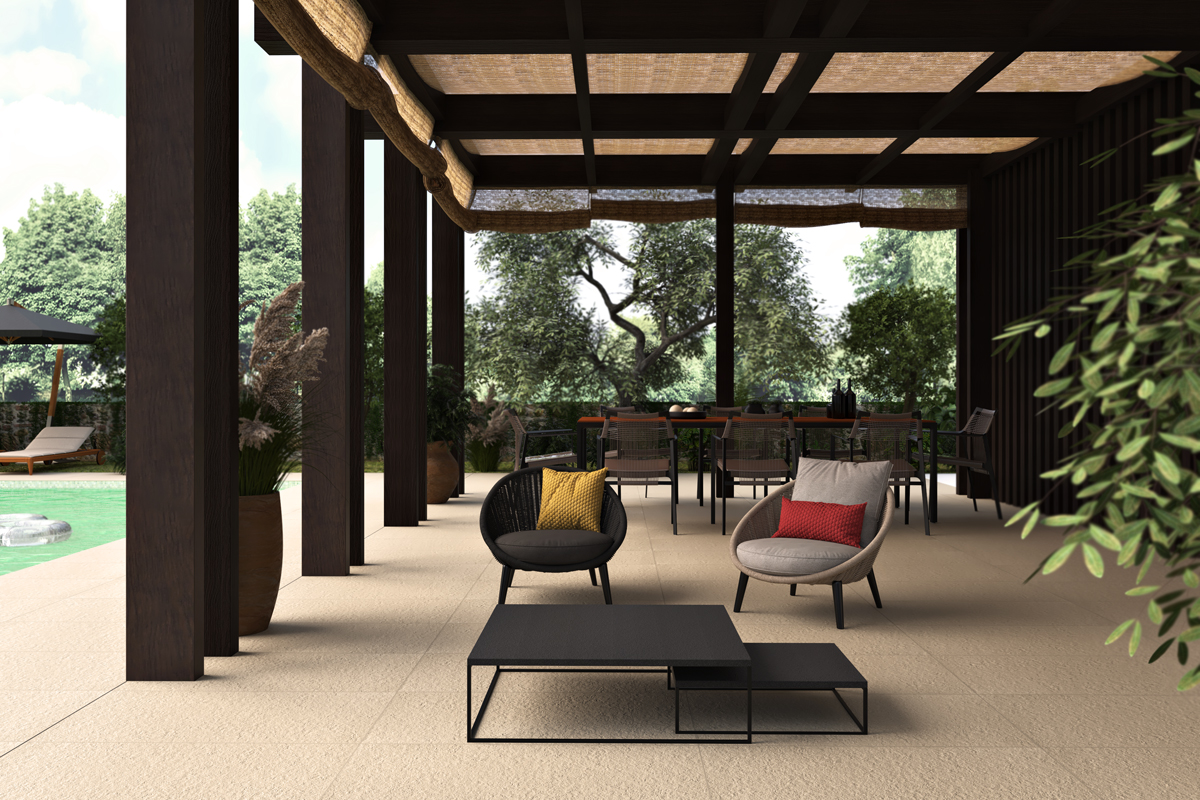
To give a greater a sense of realism to your renderings, it is essential not to forget to add accessories, decorative pieces, and various complimentary design items into your scene.
For example, if you are designing a bathroom,you can add towels and robes, or position personal toiletries, a perfume bottle, or even a toothbrush, a hair dryer or a hair straightener by the vanity. These small elements will give your room a sense of being “lived-in”, adding a more photograph-like quality to your image.
Of course it’s important not to overdo it. Just a few well placed items are enough to achieve the desired effect. On the other hand, filling the project with accessories and decorative items may make the room too cluttered, taking away attention from the more important parts of the scene.
The DomuS3D library is filled with accessories but you can also import 3D objects from external libraries if you want to include something that is not already available in the built-in library.
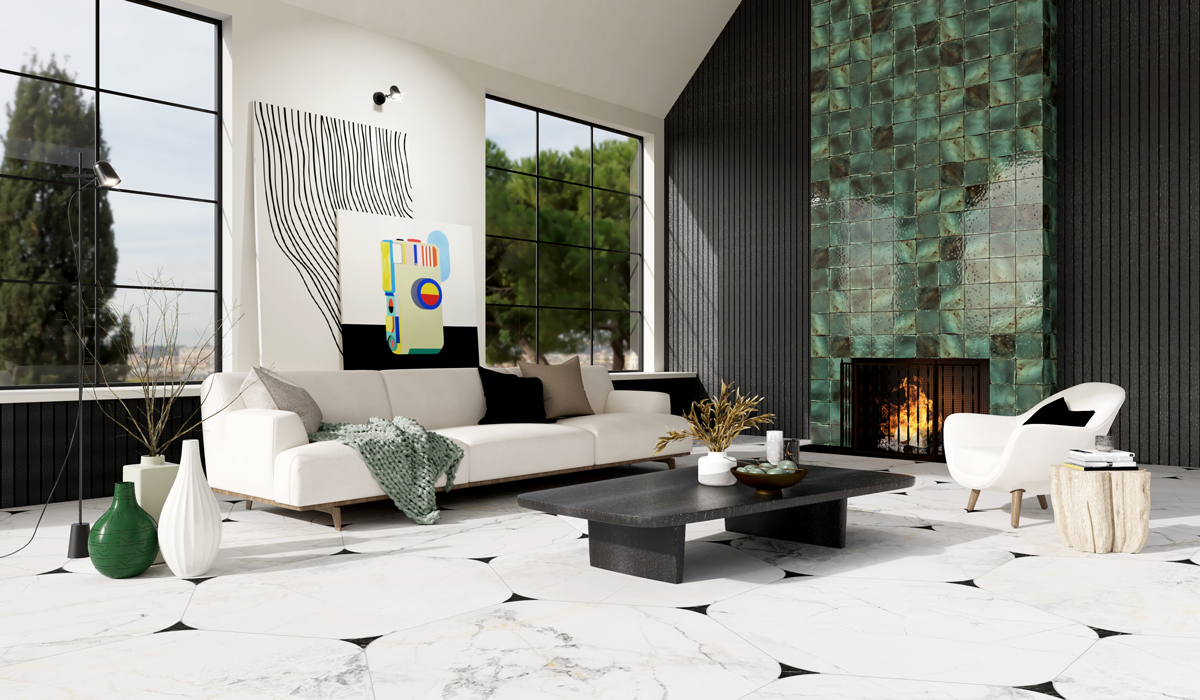
The correct choice of materials (wood, ceramic, marble, etc.) assisgned to the various elements of your project and the proper adjustment of their parameters are essential steps to generating a photorealistic rendering image.
DomuS3D includes a rich library of materials, already optimized and ready to use on furniture and architectural elements within the project. High quality materials must start with a high-quality texture, which should not have any vignetting, flash spots, or strong shadows. Furthermore, the texture must be “seamless”, meaning that it can continue to repeat seamlessly and avoid the “patchwork” effect caused by discontinuous graphic repetition.
Lastly, to optimally represent the materials of a 3D element, an additional process called “mapping” is needed to describe in detail the way the texture is spread across the element. This is the only way that many types of materials can be applied with genuine realism.
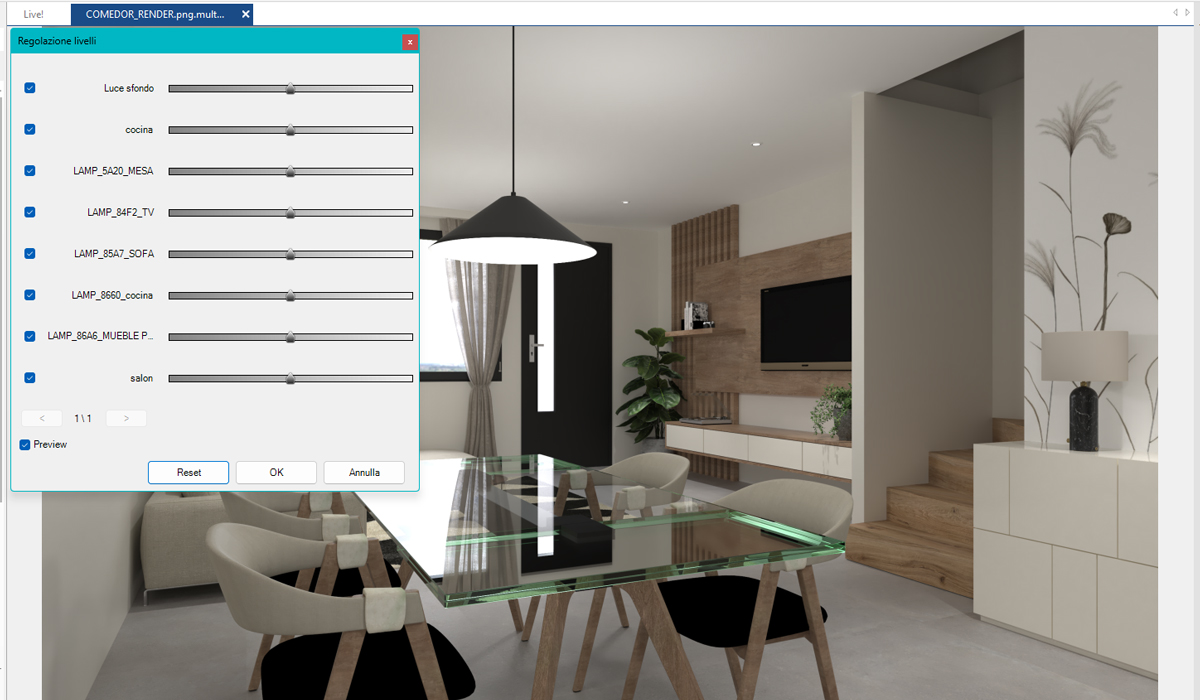
Once your rendering image has been generated, it is possible to modify it and correct it in post-production. Even if you have set the lighting perfectly, curated your materials, and framed your image just right, you can always refine the image in post-production to perfect it or eliminate minor flaws.
DomuS3D includes an easy to use post-processing module that allows you to quickly adjust many parameters such as contrast, saturation, exposure, shadows, color balance, and more. You can even adjust the intensity of the lights present in the project directly in post-production without having to launch a new rendering.
You can learn more about post-processing in DomuS3D here.
These are some of the mistakes that you absolutely must NOT make if you want to generate a photorealistic rendering in DomuS3D. To learn more about all of these topics, we recommend signing up for our online training courses and consulting our DomuS3D Online Guide.
And if you really want to take a deep dive into the world of rendering, follow us on Instagram to stay up-to-date on upcoming Rendering Day events, dedicated entirely to the technical aspects of rendering.