18 November, 2021 | News
So, you’ve decided to start producing renderings to help your customers visualize specific design projects and remodels (if you still haven’t decided this, or are looking to first learn more about rendering, check out our beginner’s guide here).
But after you learn to use your new software and use these tips to start creating photorealistic images, how can you share these images with your customers?
That is exactly the question we are going to look at in this article, reviewing three ways to share your renderings with your customers.
We’ll take a look at:
1. Sharing renderings directly with your customer;
2. Sharing renderings on social media;
3. Sharing renderings on DomuS3D 360.
Let’s jump in!
If you are working on a specific project for a client, it’s always a good idea to meet directly with your client to show him or her your renderings.
This can be an in-person meeting or a virtual one (if it is virtual, make sure to check out how to run a virtual design consulation from home).
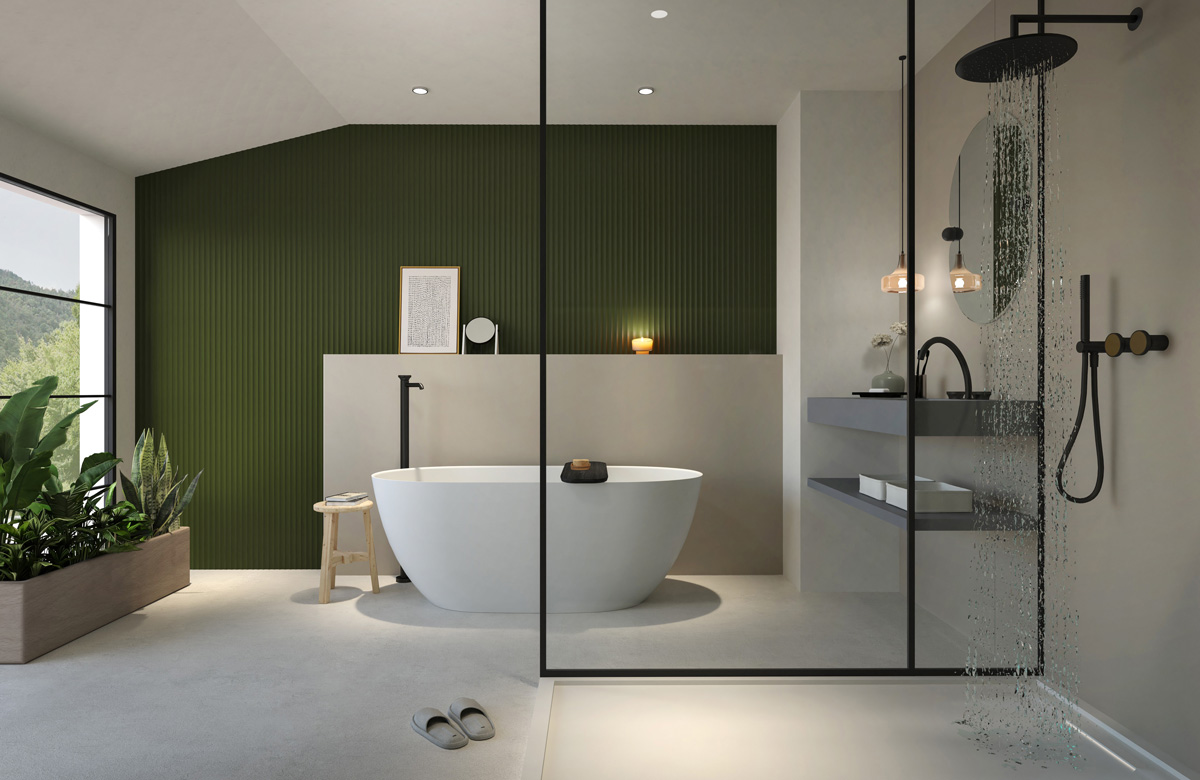
The important thing in these meetings is that you are able to use the renderings that you’ve generated as supporting visual assets to help your customer understand your ideas and to let the customer visualize the project.
We recommend generating multiple images to show your client, which can be from different points of view within the room or even show them a 360° panoramic image of your space.
When meeting in person, you can even use a Virtual Reality headset to create an immersive preview of the space that you’ve designed.
Before meeting with your client, make sure to save all your images in an easily accessible place on your computer so you can quickly retrieve them during a meeting. And, it’s always best to take a quick look at your images before sharing them so you can apply a few simple post-processing edits to help them look their best.
You can even share your images with your client beforehand to give them a preview of what you’ll be looking at together during the meeting. The simplest way is to send them an image via email or even text message so they can take a quick look on their phone.

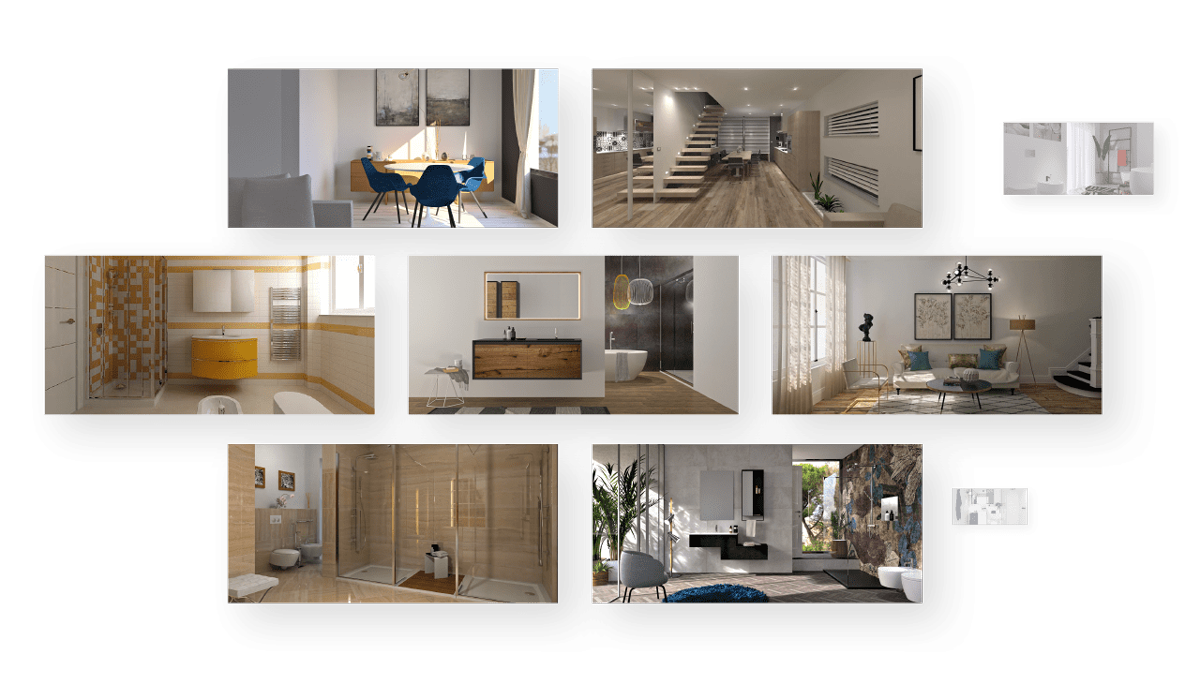
Sharing your renderings publicly on social media or on your website can help you build your brand and show off the quality of your work.
Posting to Facebook and Instagram can also help you connect with potential clients and stay connected to those that have worked with you in the past.
And lastly, consistently sharing your work can also help build your brand identity; a couple of ideas could be creating a standard template for sharing images, inserting your logo in each image, or coming up with recurring captions or hashtags.
Soon, your customers will begin to identify certain posts with your brand, helping you grow and expand your online reach.
If you are working with your customer from start to finish on a project, a good idea could be to share your rendering during the planning phase of a project and compare it to the finished project after installation. These comparison posts can be a great way to show off the value that rendering adds to your work.
Potential customers will be blown away by the chance to visualize the finished project before installation begins, and by comparing renderings with actual photographs from the end of a project, customers can see what changed during installation and have a complete vision of the quality of your work from start to finish.
If you would like to share a rendering that you created for a specific project, make sure to first get your client’s permission to share the image publicly.

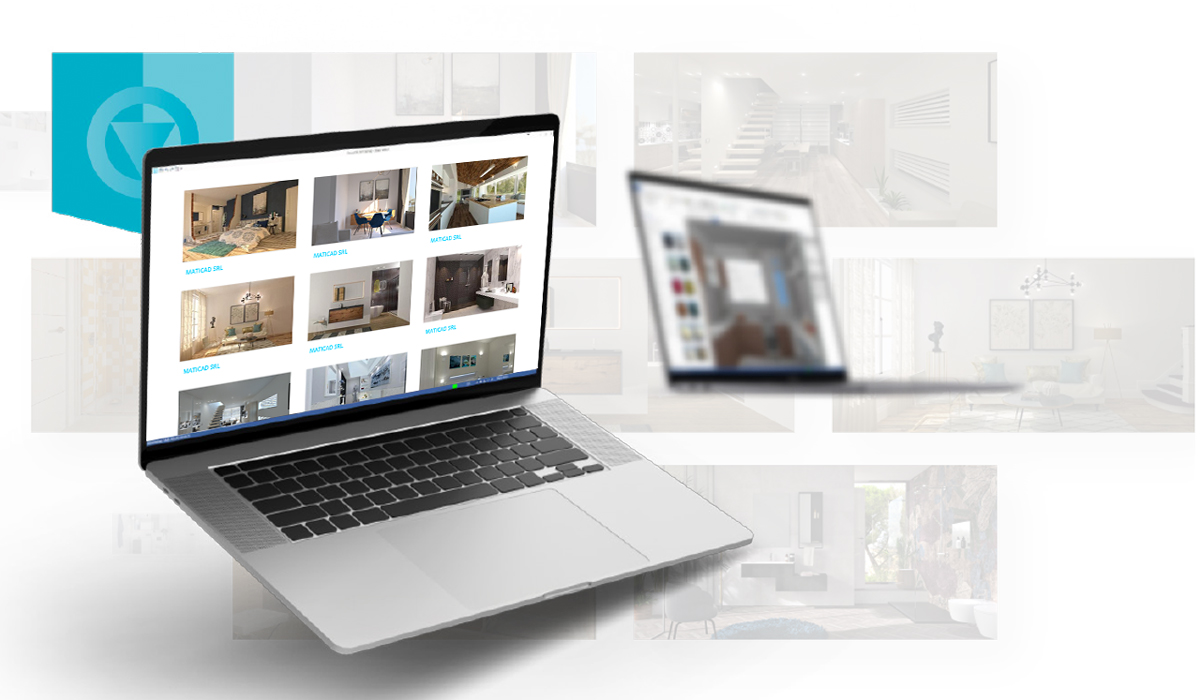
For those of you rendering with DomuS3D, we have a great website built specifically for DomuS3D users to share projects with colleagues, customers, and the world.
With DomuS3D 360, you can share any content created in DomuS3D, from renderings, to complete projects, catalogs, PDF project summaries, and more. Each DomuS3D user has their own dedicated cloud space, and they can choose whether to share content privately (for example, with one specific client) or publicly.
Let’s take a look at how it works:
After you generate a rendering image in DomuS3D, make sure you open the image back up in the program. This will happen automatically if you rendered within the program but if you used Render Manager, you’ll have to click “Open Image” and choose your rendering image file.
Next, click “Share”, give your image a name and voila, you’ve just uploaded your project to DomuS3D 360.
If you have more than one image that you want to share for the same project, you’ll want to first add each image as an “attachment” to the DomuS3D project by clicking the “attach” button.
You can attach images, 360 panoramas, PDF documents…just make sure that the project is open in DomuS3D while you are attaching these documents.
Once you’ve attached all the content that you want to share, you can click the “share” button from the 2D layout window.
You’ll have the chance to choose from among the available attachments and decide whether to make your project visible publicly or only to authorized customers. Next, you’ll click “Upload to Cloud” and you’re done.
Head on over to the Live! page of the program and select “Cloud” -> “My Projects”. Here you can change things like the name of each image, change the visibility settings of the project, or simply copy and paste the specific URL where your project is located.
Once you’ve copied this link, you can use it to view the project on DomuS3D 360 or share it with your client. Once your client has the link, all they have to do is click it and it’ll open the project in their web browser, on their computer, tablet, or smartphone.
Rendering is a key aspect of remodel and design projects. Renderings help your customers visualize products and ideas, boost your customer service, and increase your sales.
But after you learn to render and generate your first renderings, you need to share them with your clients.
In this article, we took a look at three ways to share this visual content:
Ready to get started? If you still aren’t using DomuS3D, contact us today to talk to one of our design experts to see how DomuS3D can help your business.
To receive more information about our products, request a free consultation, or activate a subscription, please contact us.